Provision Redis
Overview
This section presents the steps to provision Redis on ElastiCache and configure its application integration.
Implementation steps
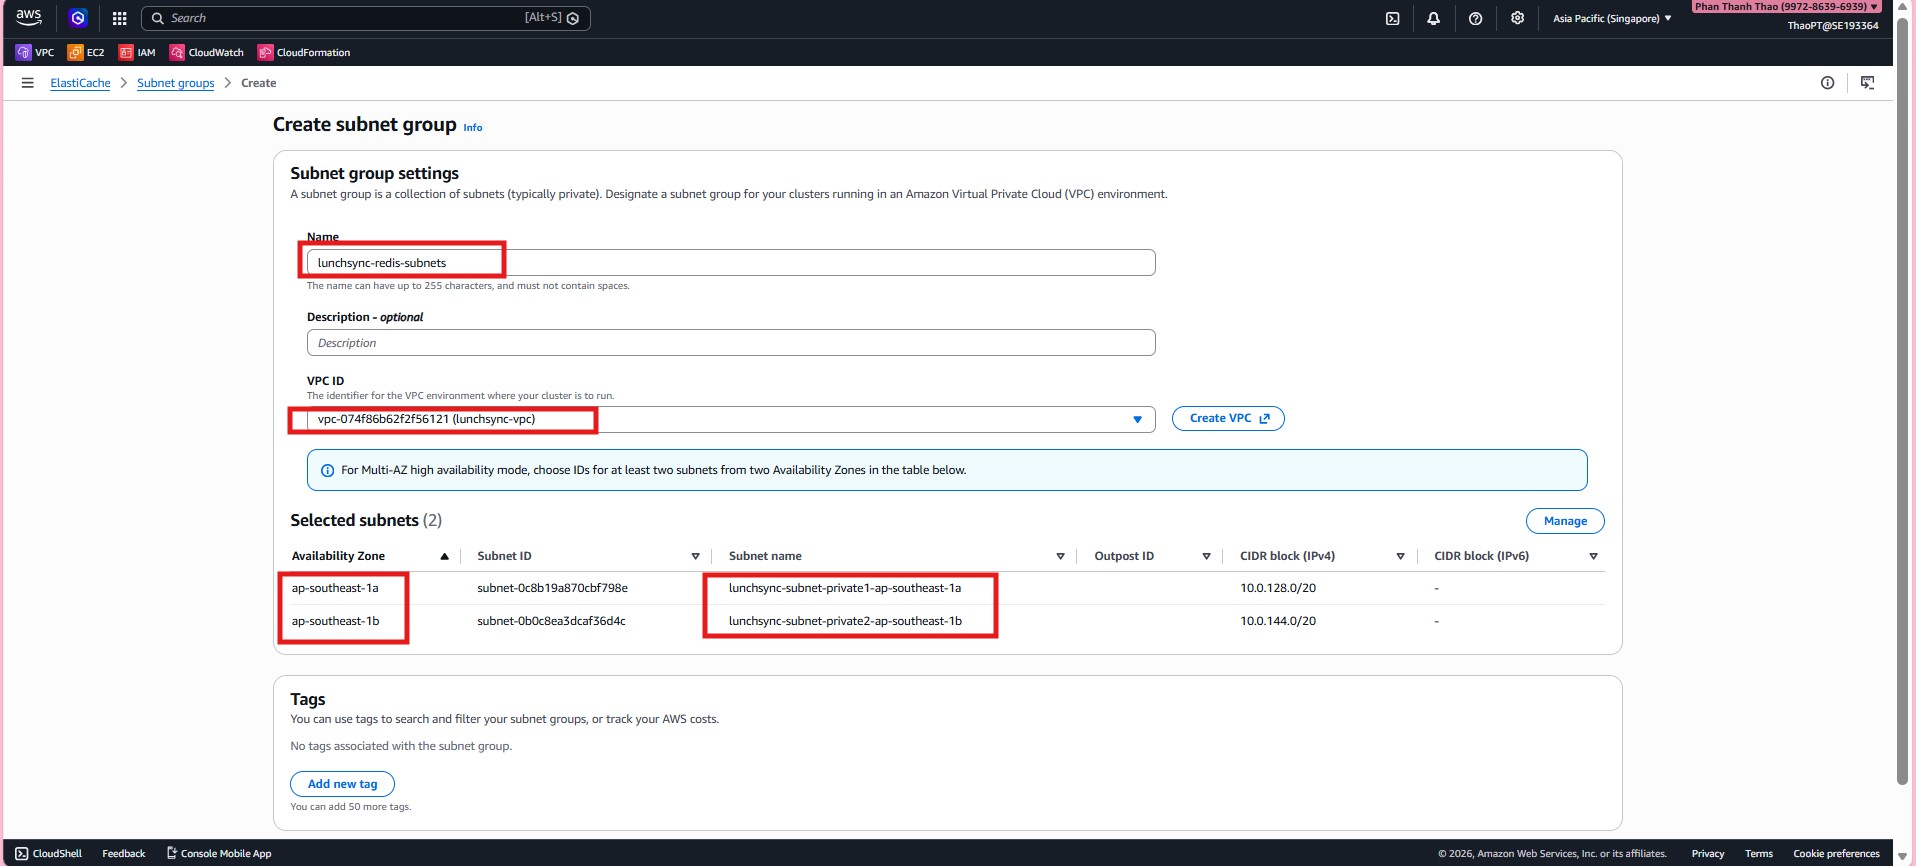
- Before creating the cache, open ElastiCache > Subnet groups to create the subnet group for Redis.

- Create
lunchsync-redis-subnets, chooselunchsync-vpc, and add the two private subnets from different AZs.
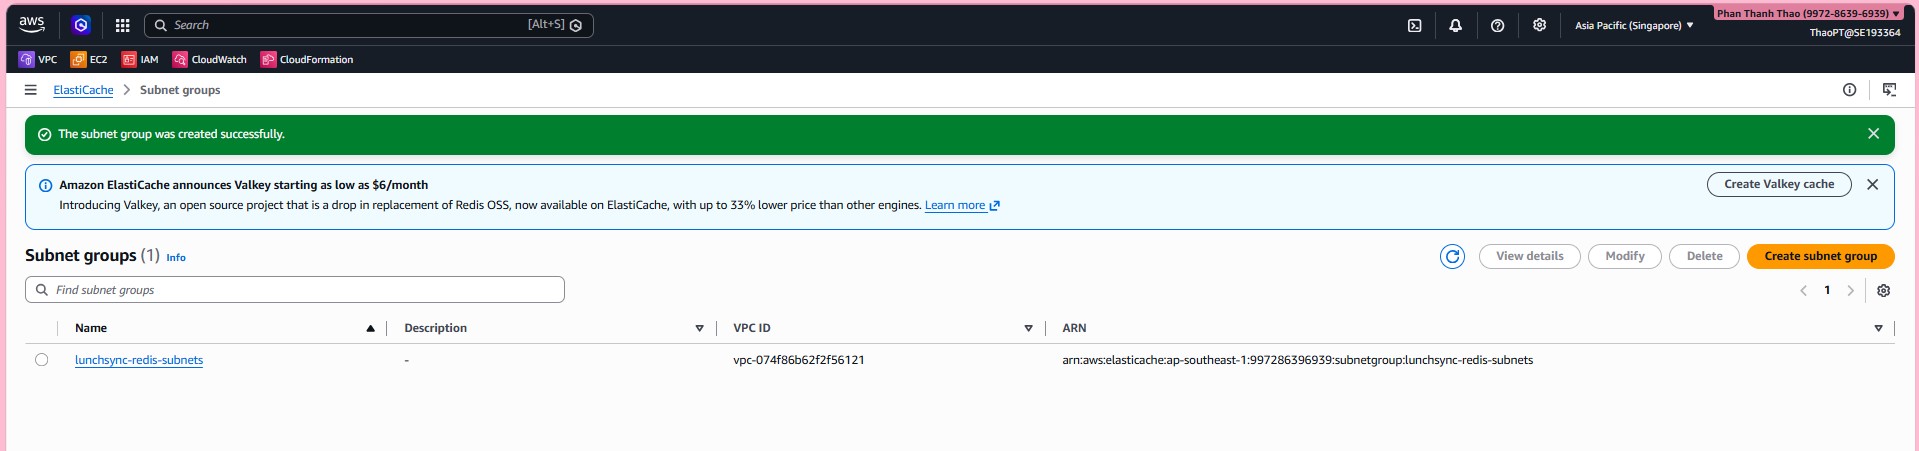
- Review the subnet group list and confirm that
lunchsync-redis-subnetshas been created.
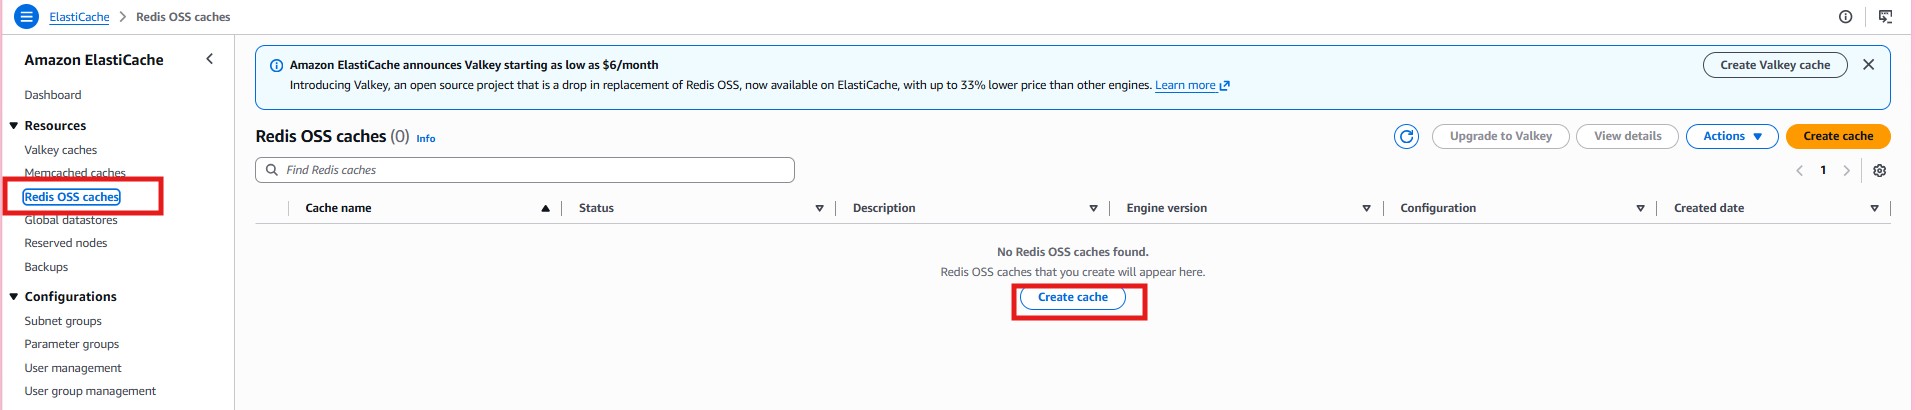
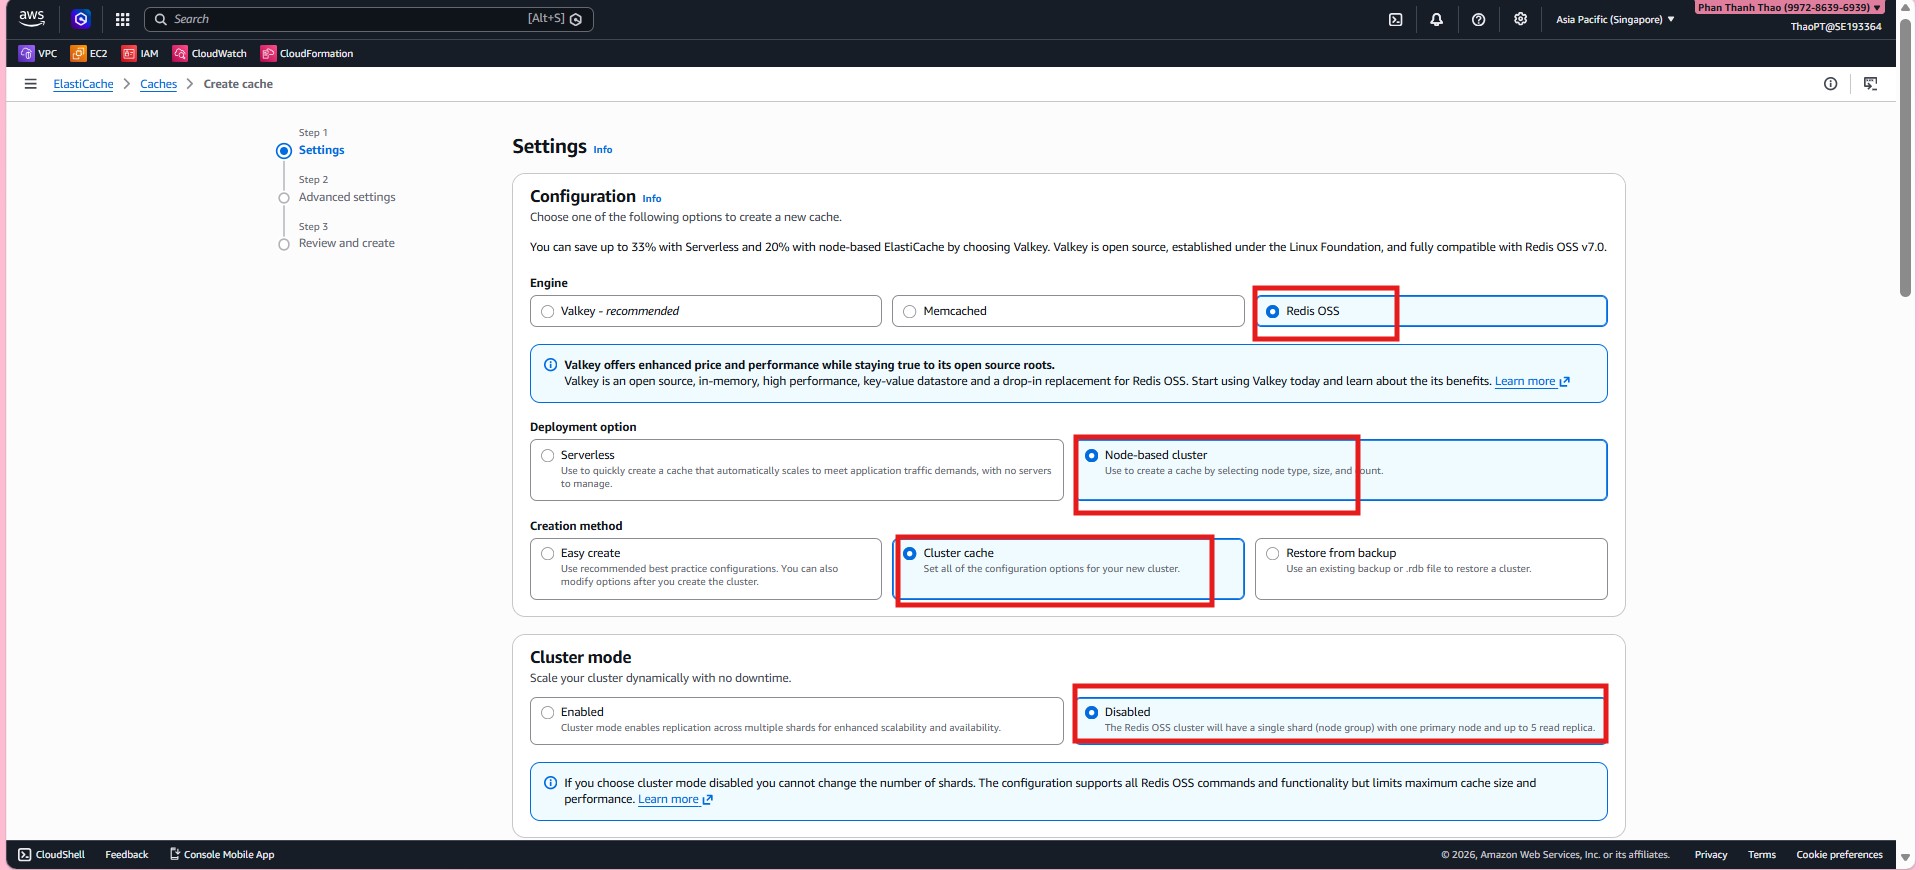
- Open Redis OSS caches and start creating a new cluster.
- Choose Redis OSS, use a Node-based cluster, and keep Cluster mode = Disabled.
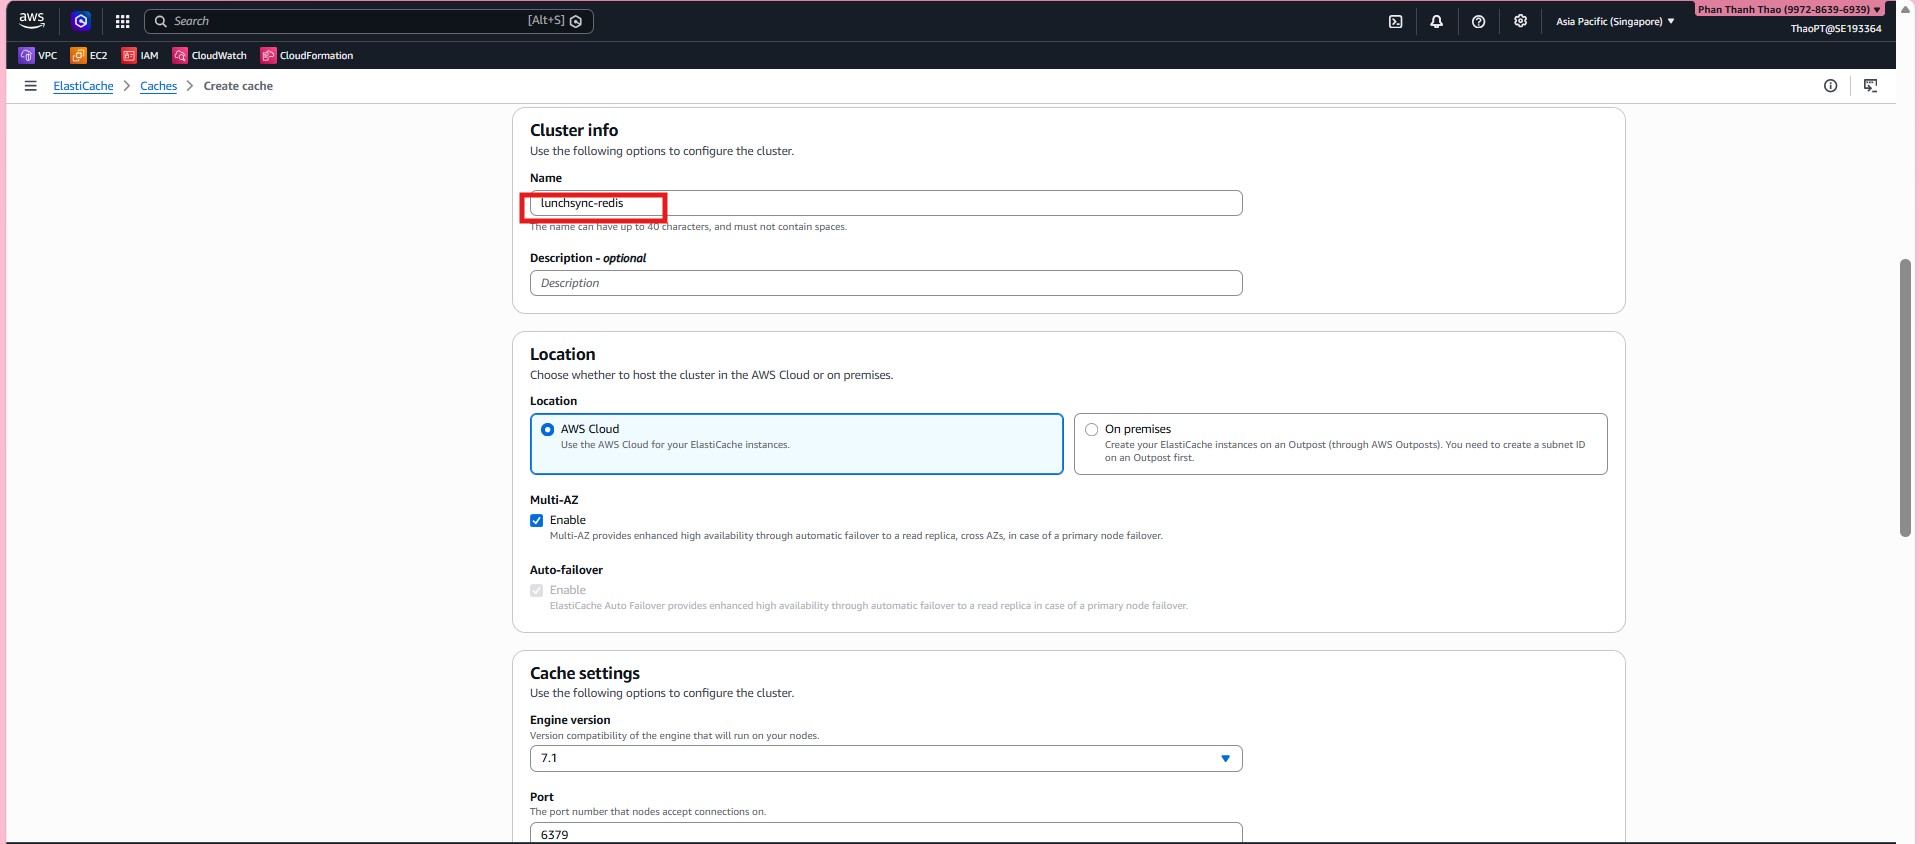
- Name the cluster
lunchsync-redis, deploy it in AWS Cloud, enable Multi-AZ and Auto-failover, and keep port6379.
- Choose node type
cache.t3.microand attach the cluster to the subnet grouplunchsync-redis-subnets.
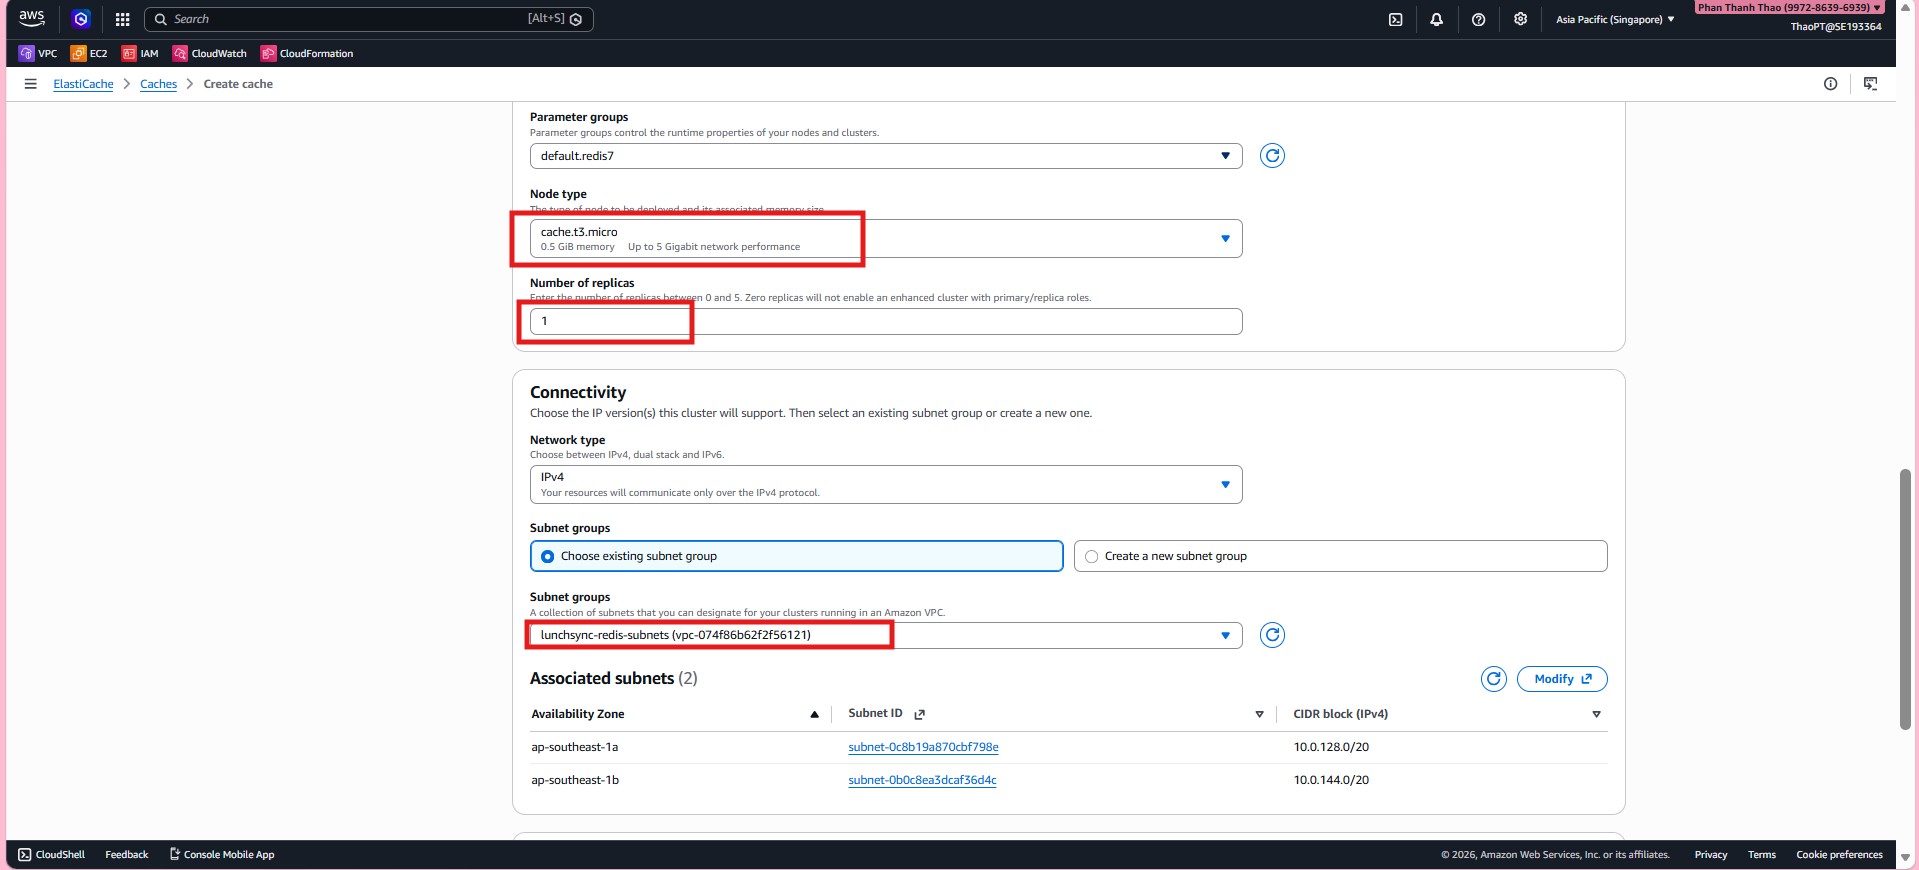
- Place the primary and replica in different Availability Zones so failover can work correctly.

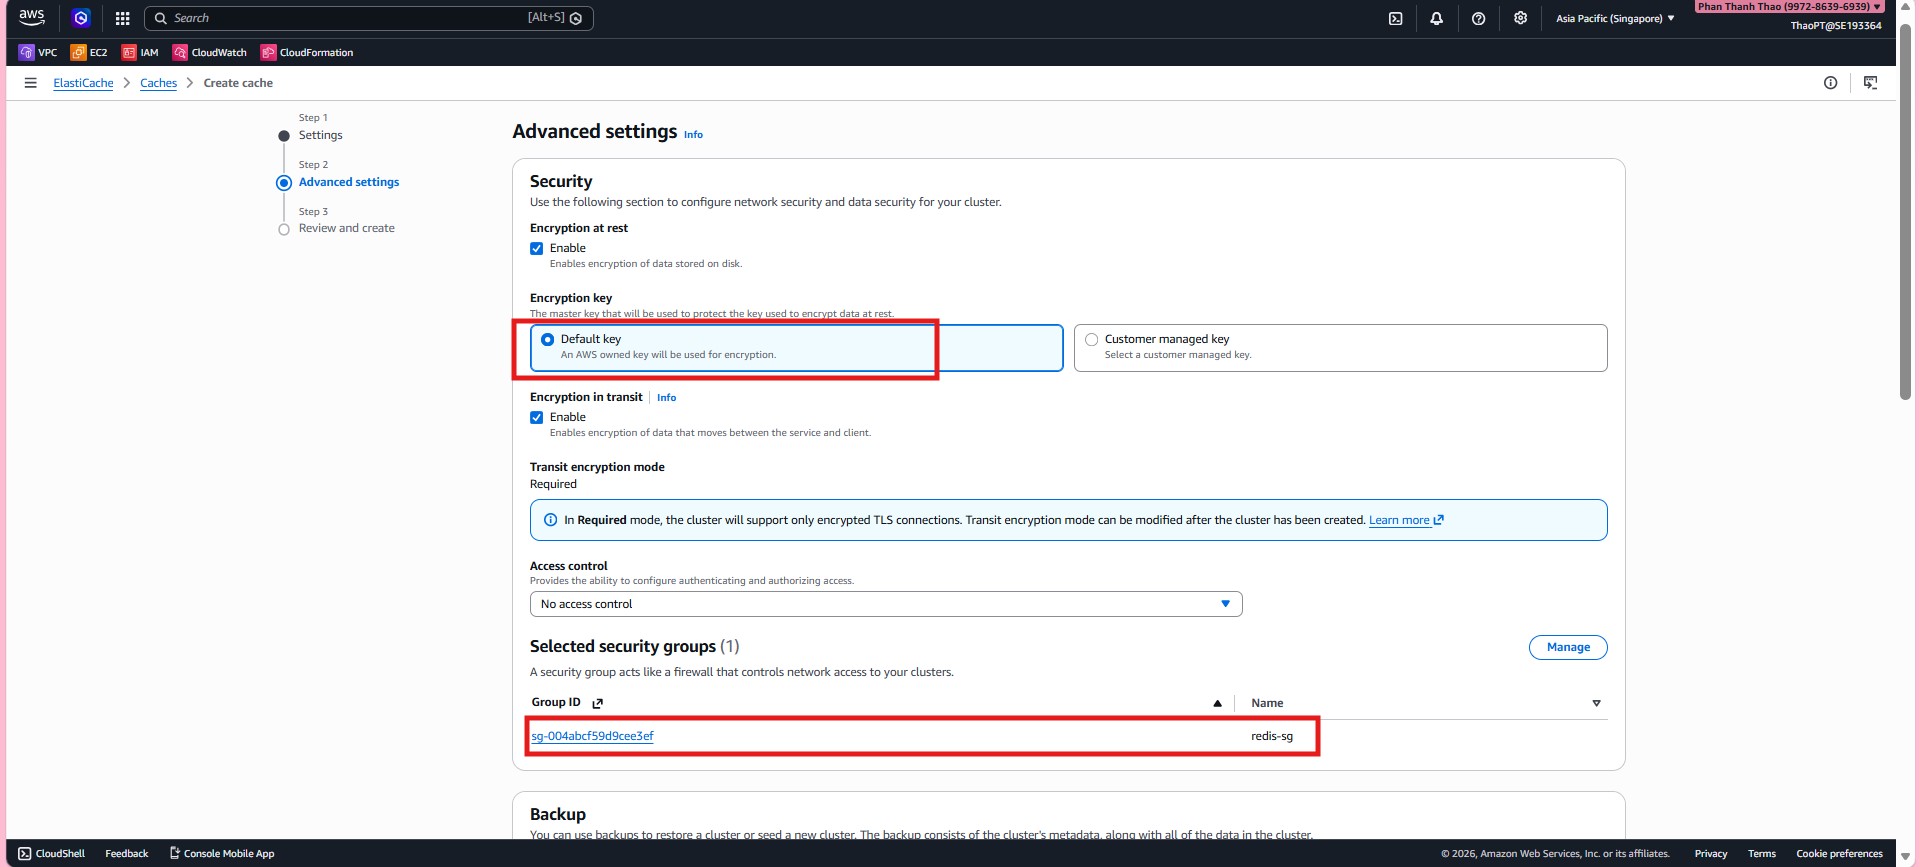
- In Security, enable Encryption at rest, enable Encryption in transit = Required, and attach security group
redis-sg.
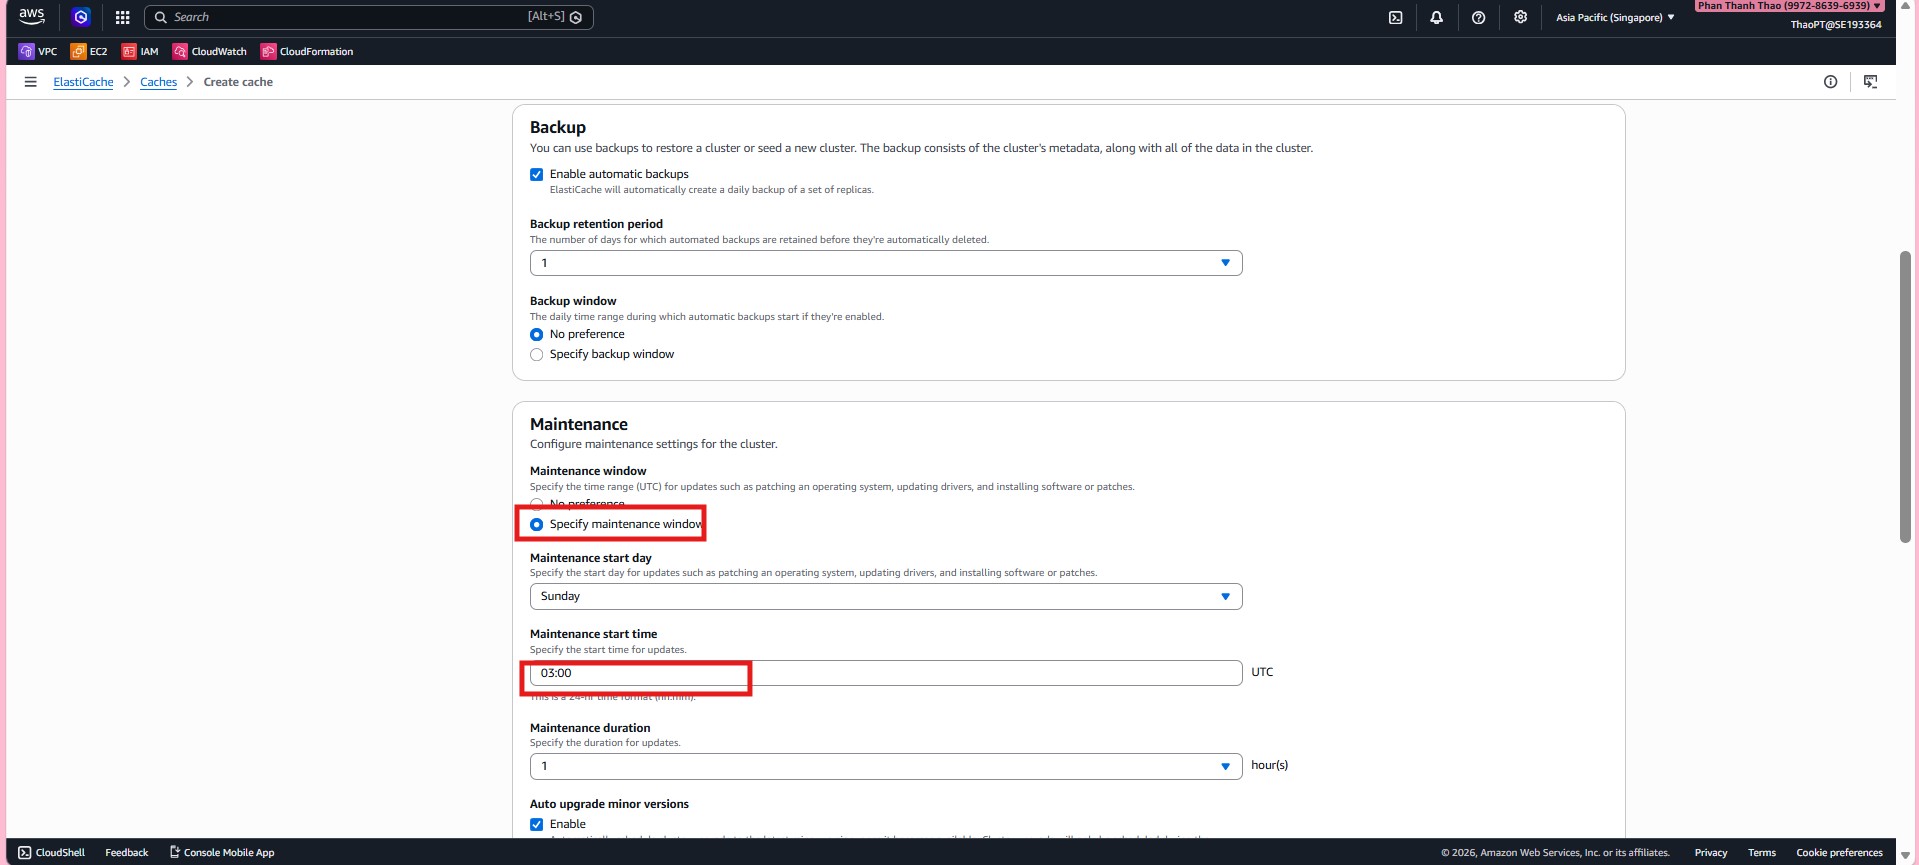
- Configure backup and maintenance by enabling automatic backups, setting retention, defining a maintenance window, and enabling minor version upgrades.
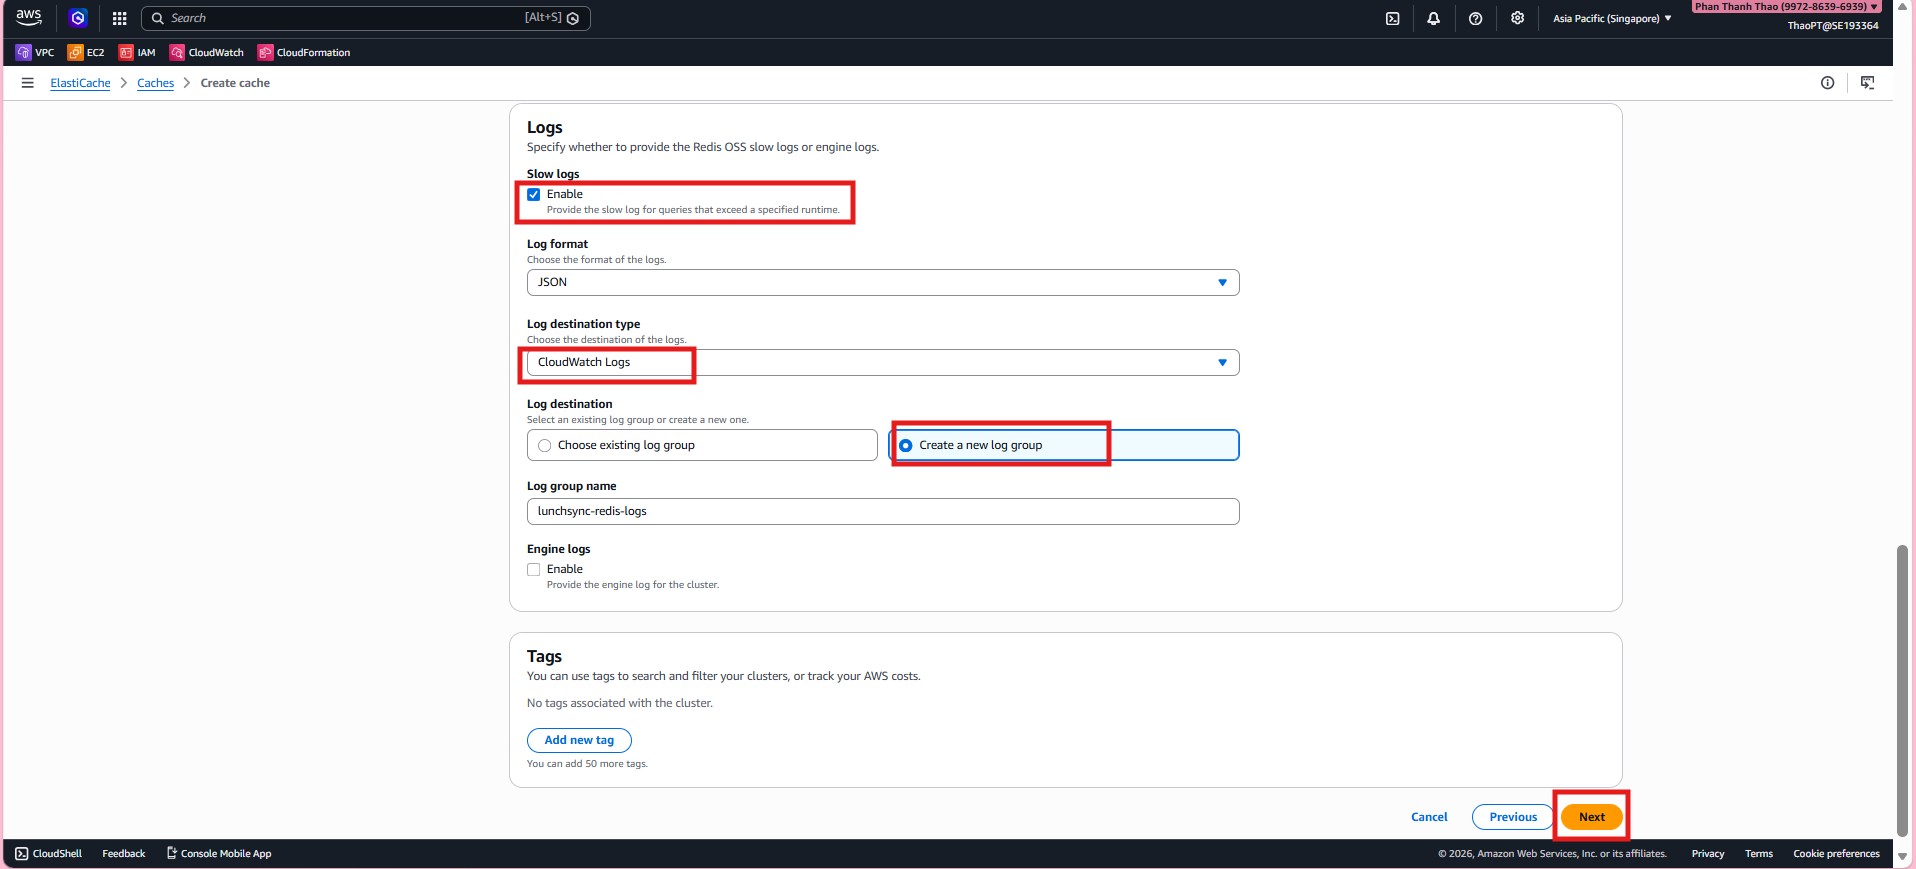
- Enable Slow logs and send them to CloudWatch Logs.
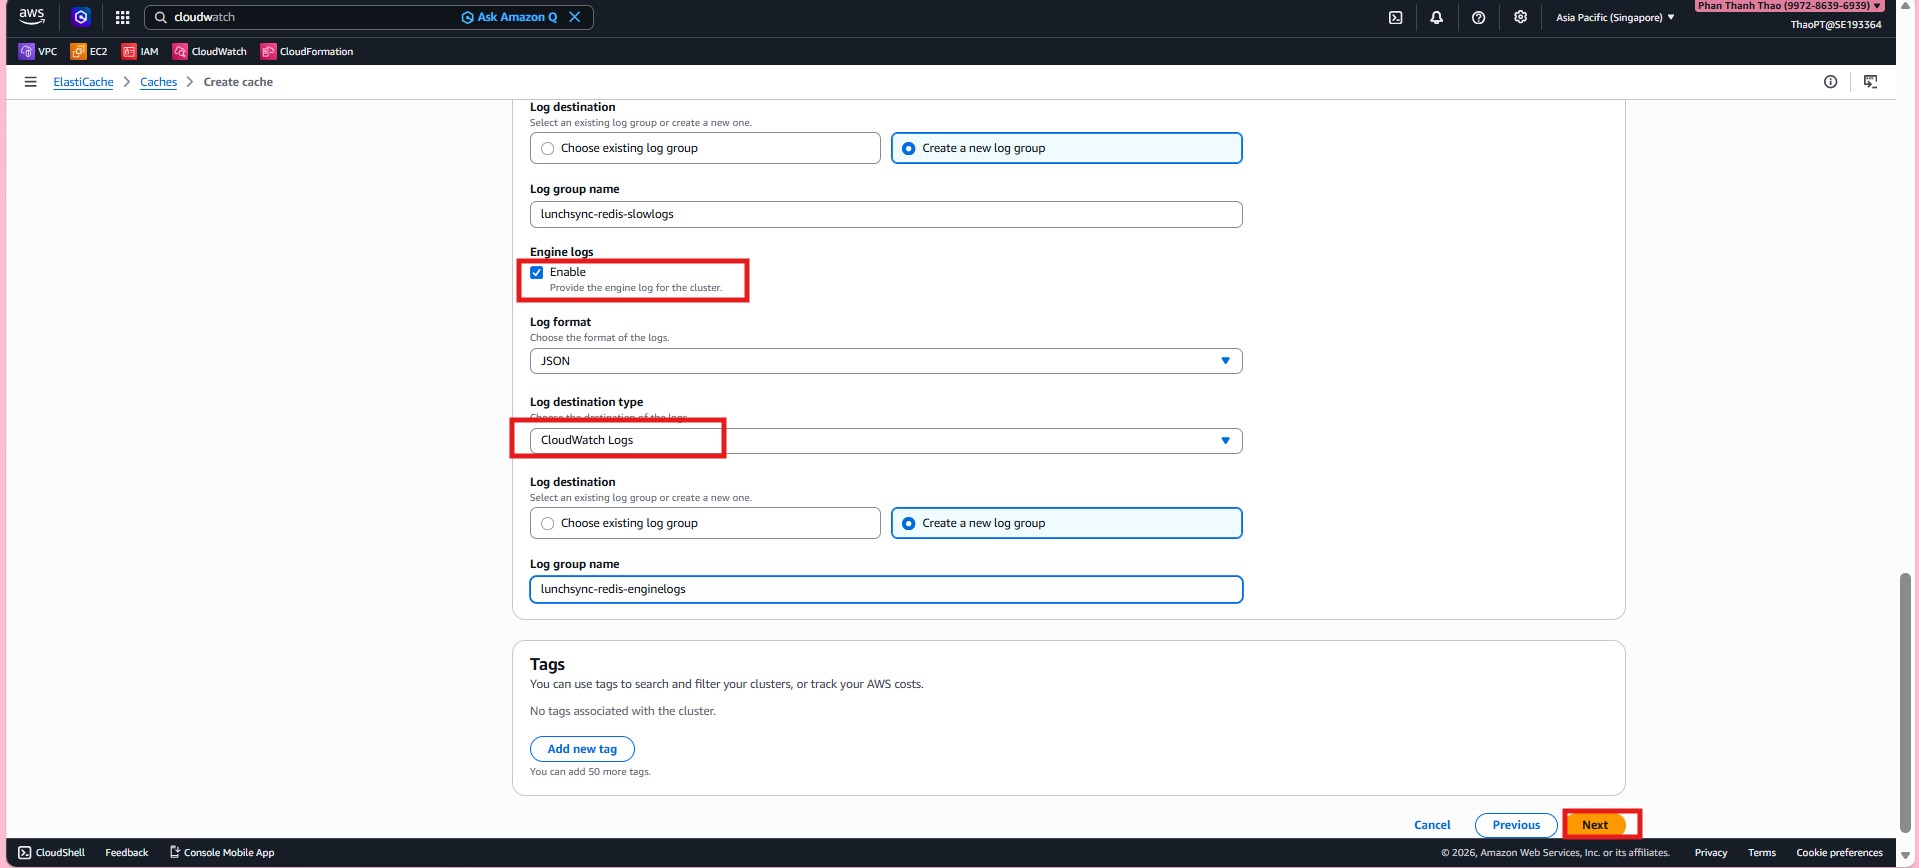
- Enable Engine logs as well and configure the corresponding CloudWatch log group.
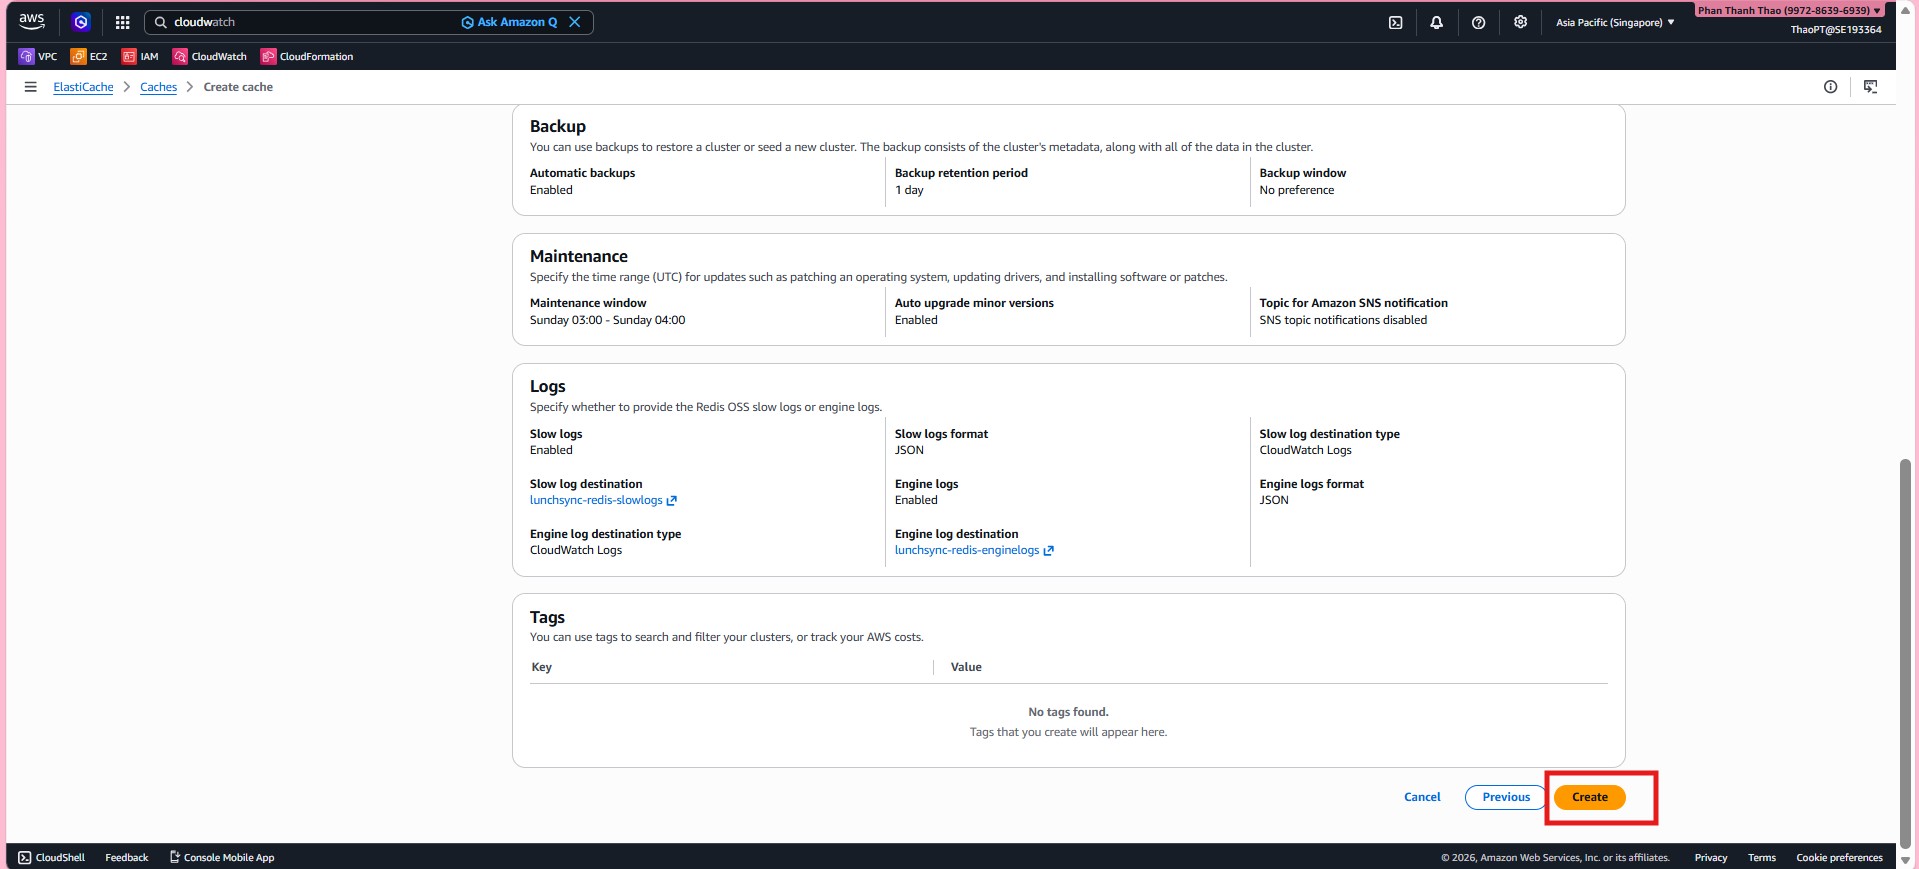
- Review backup, maintenance, and logging settings before creating the cluster.
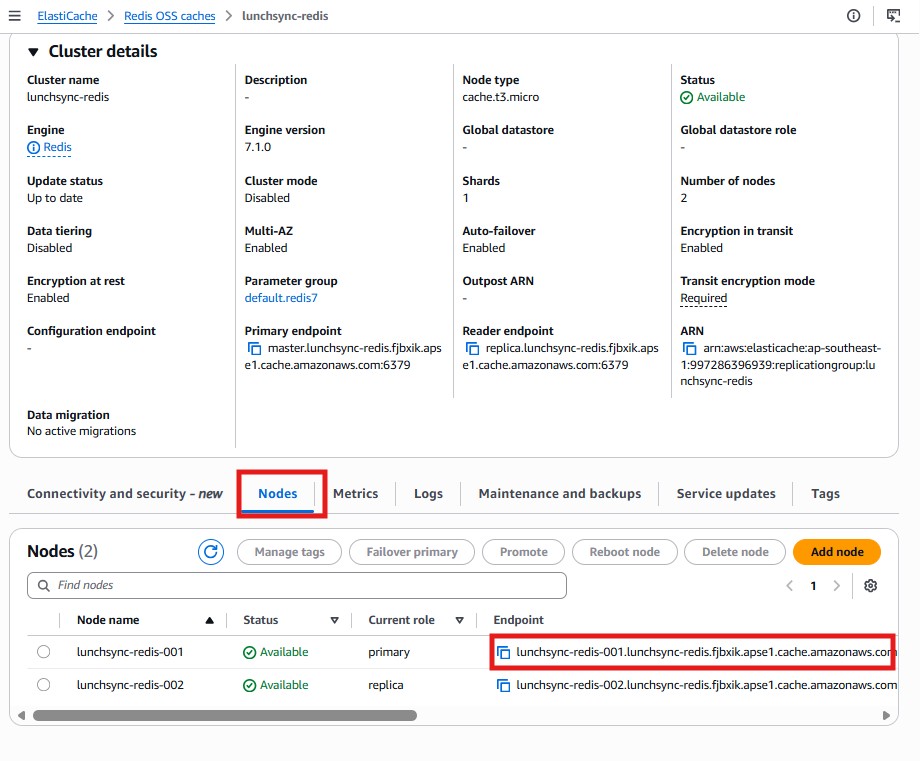
- After the cluster becomes available, review the primary endpoint, reader endpoint, node type, and overall
Availablestatus.
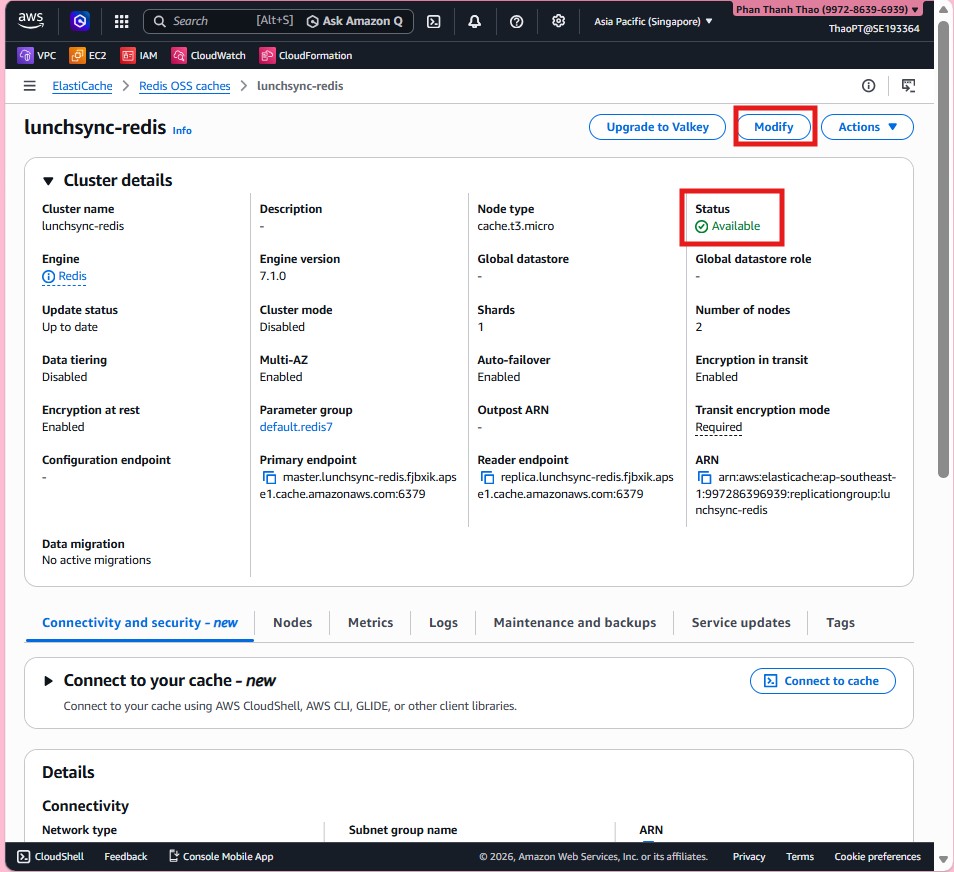
- If you want to harden security further, open Modify > Security and recheck TLS, AUTH token, and the attached security group.

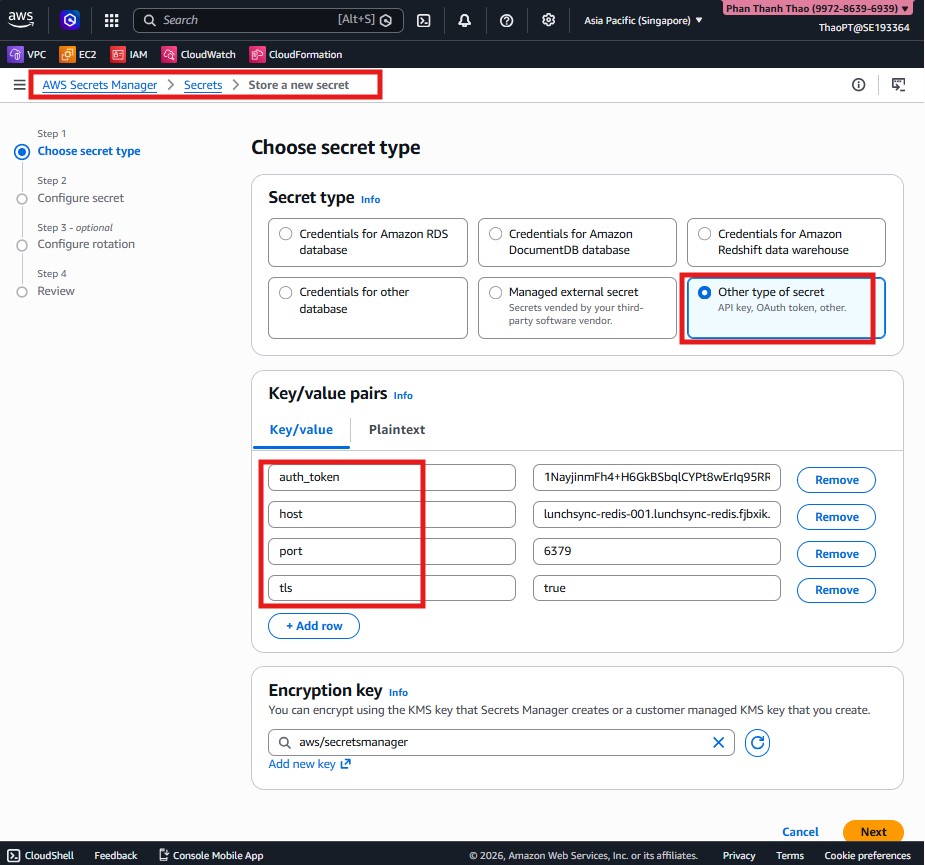
- Move to AWS Secrets Manager, choose Other type of secret, and store values such as
auth_token,host, andportfor Redis.
- Name the secret
lunchsync/redis.
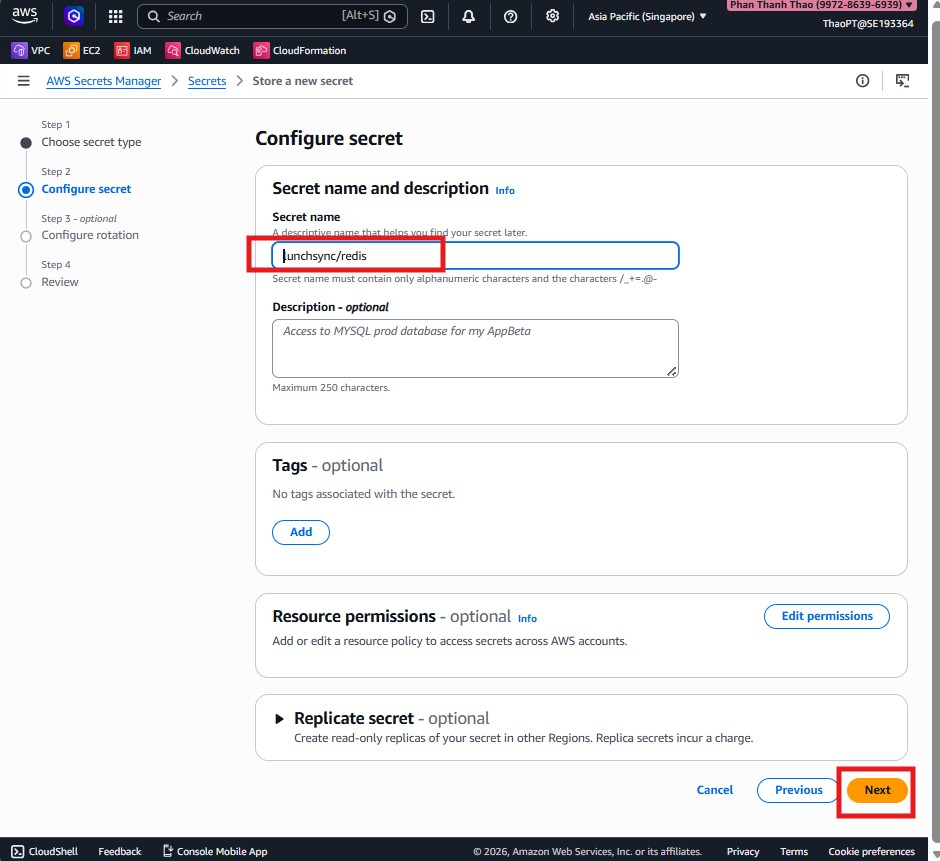
- Skip rotation if it is not needed yet, keep the secret static, and finish creating it.

- Return to ElastiCache and verify the node list, primary endpoint, and reader endpoint so the backend can integrate with Redis.