Route53, ACM, and Cognito
Overview
This section presents the Route 53, ACM, and Cognito configuration steps for the LunchSync access and authentication layer.
Implementation steps
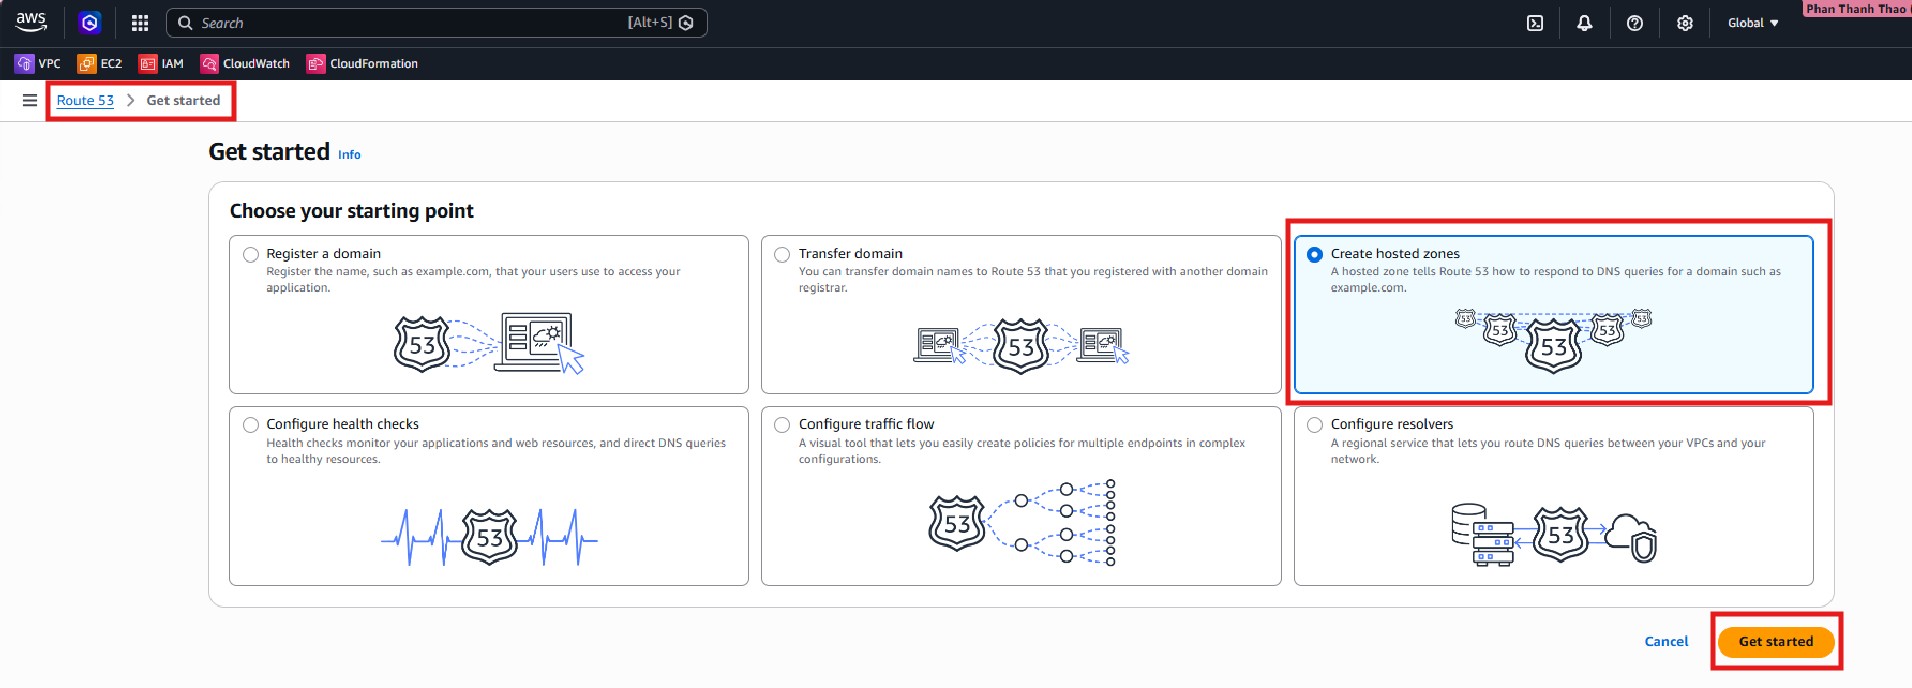
- Open Amazon Route 53, go to Hosted zones, and start creating a new hosted zone for the workshop domain.
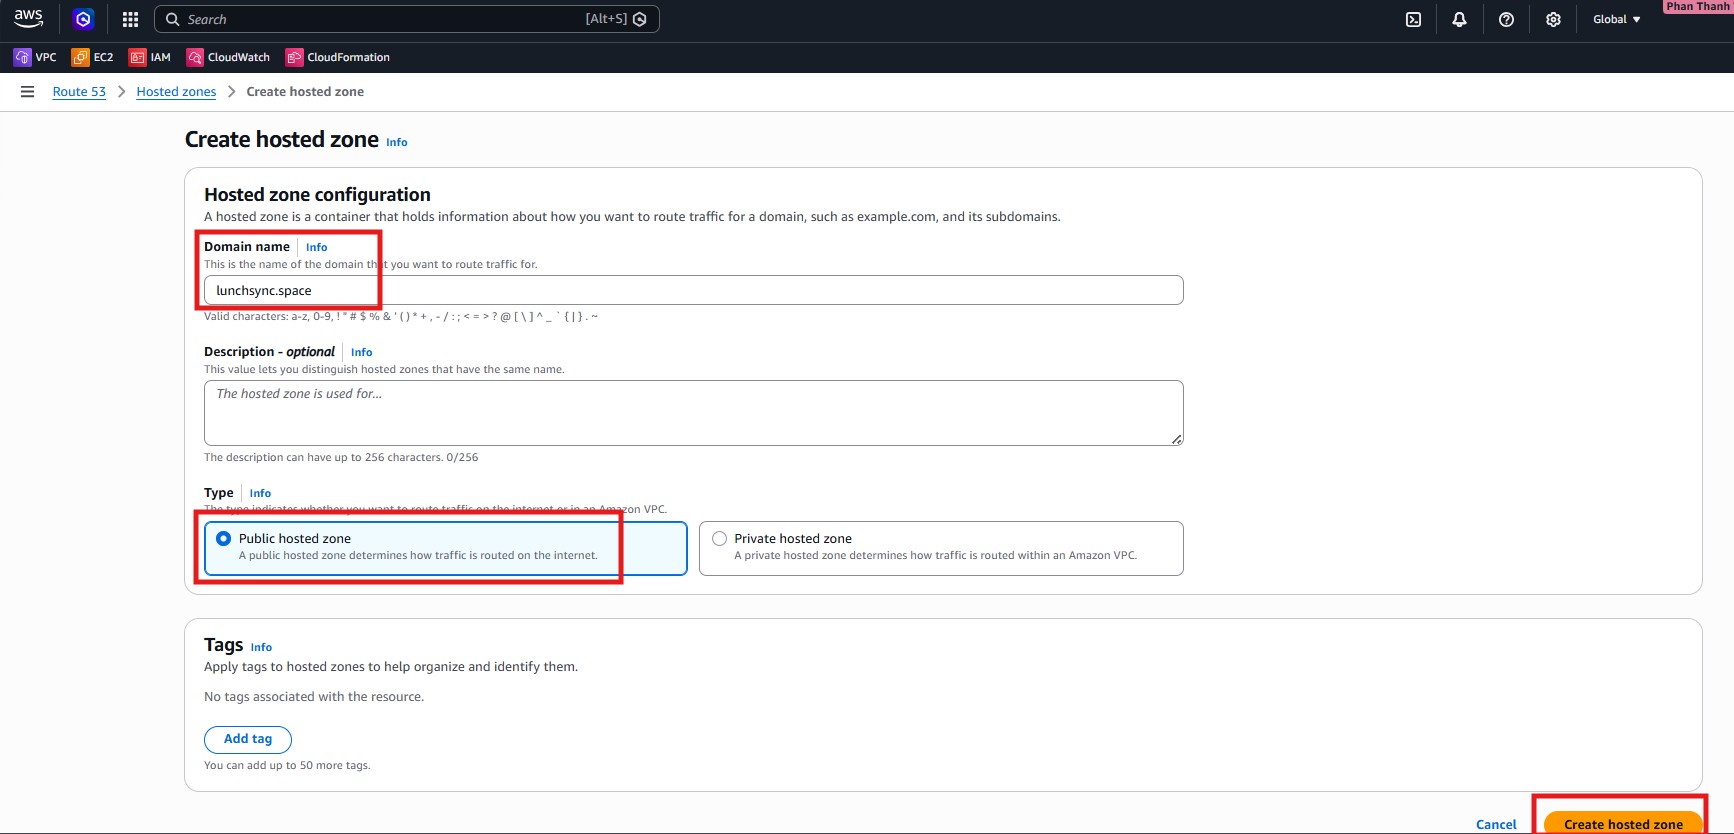
- In Create hosted zone, enter
lunchsync.space, choose Public hosted zone, and create the zone.
- After the zone is created, review the default NS and SOA records for
lunchsync.space.
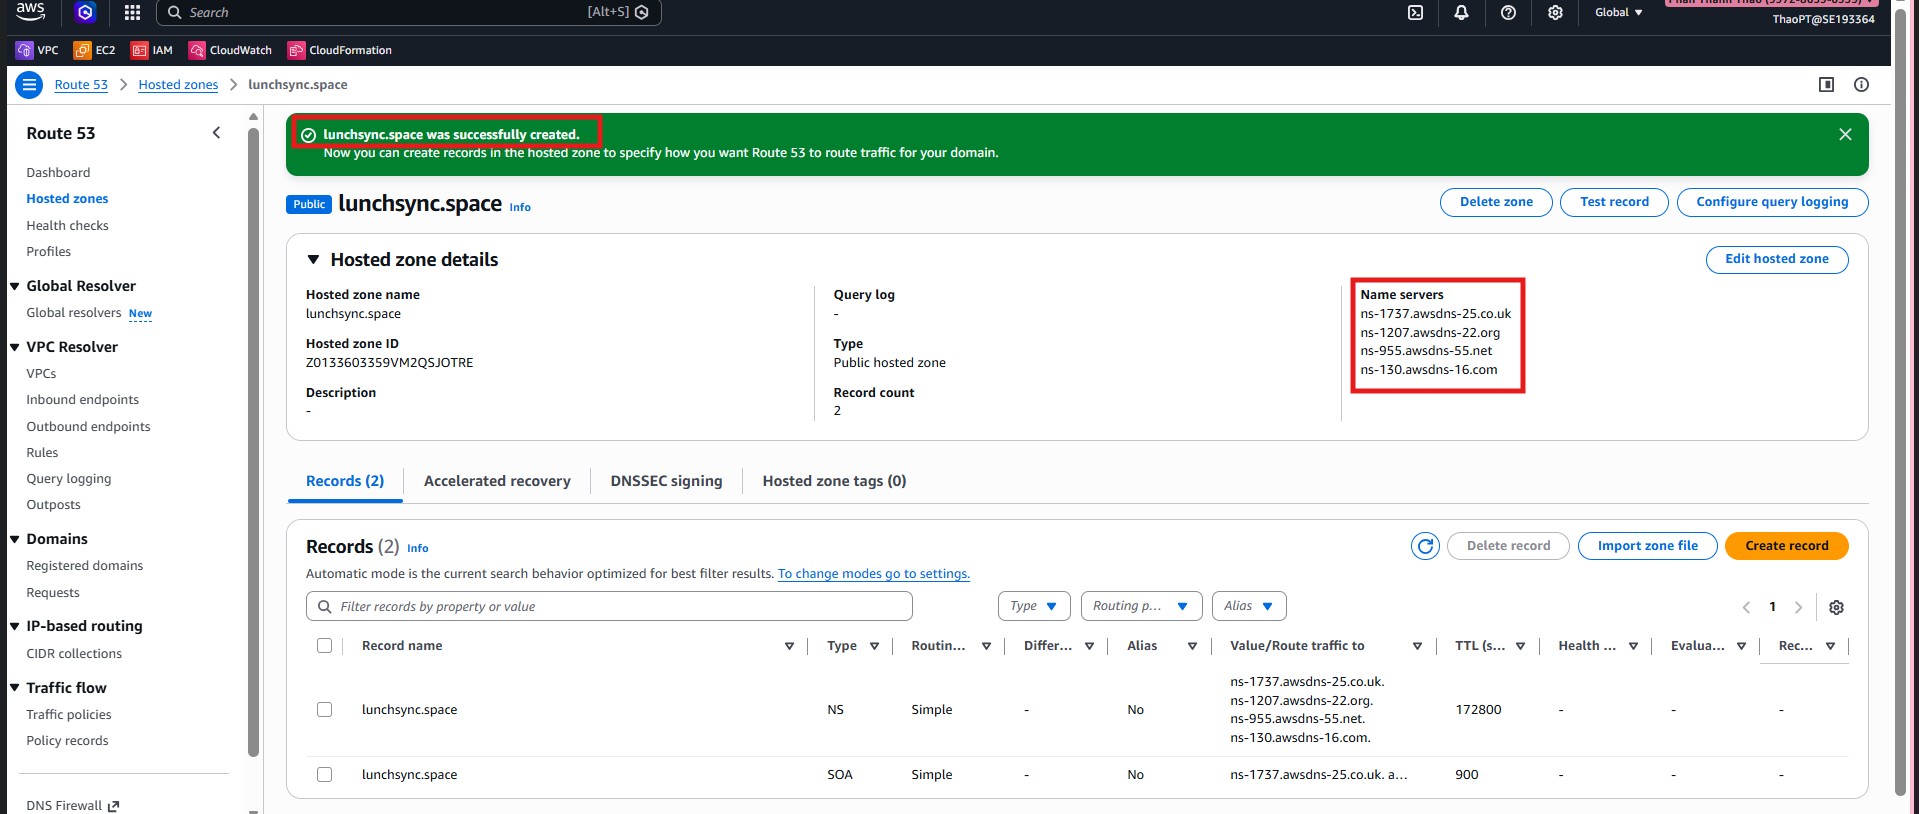
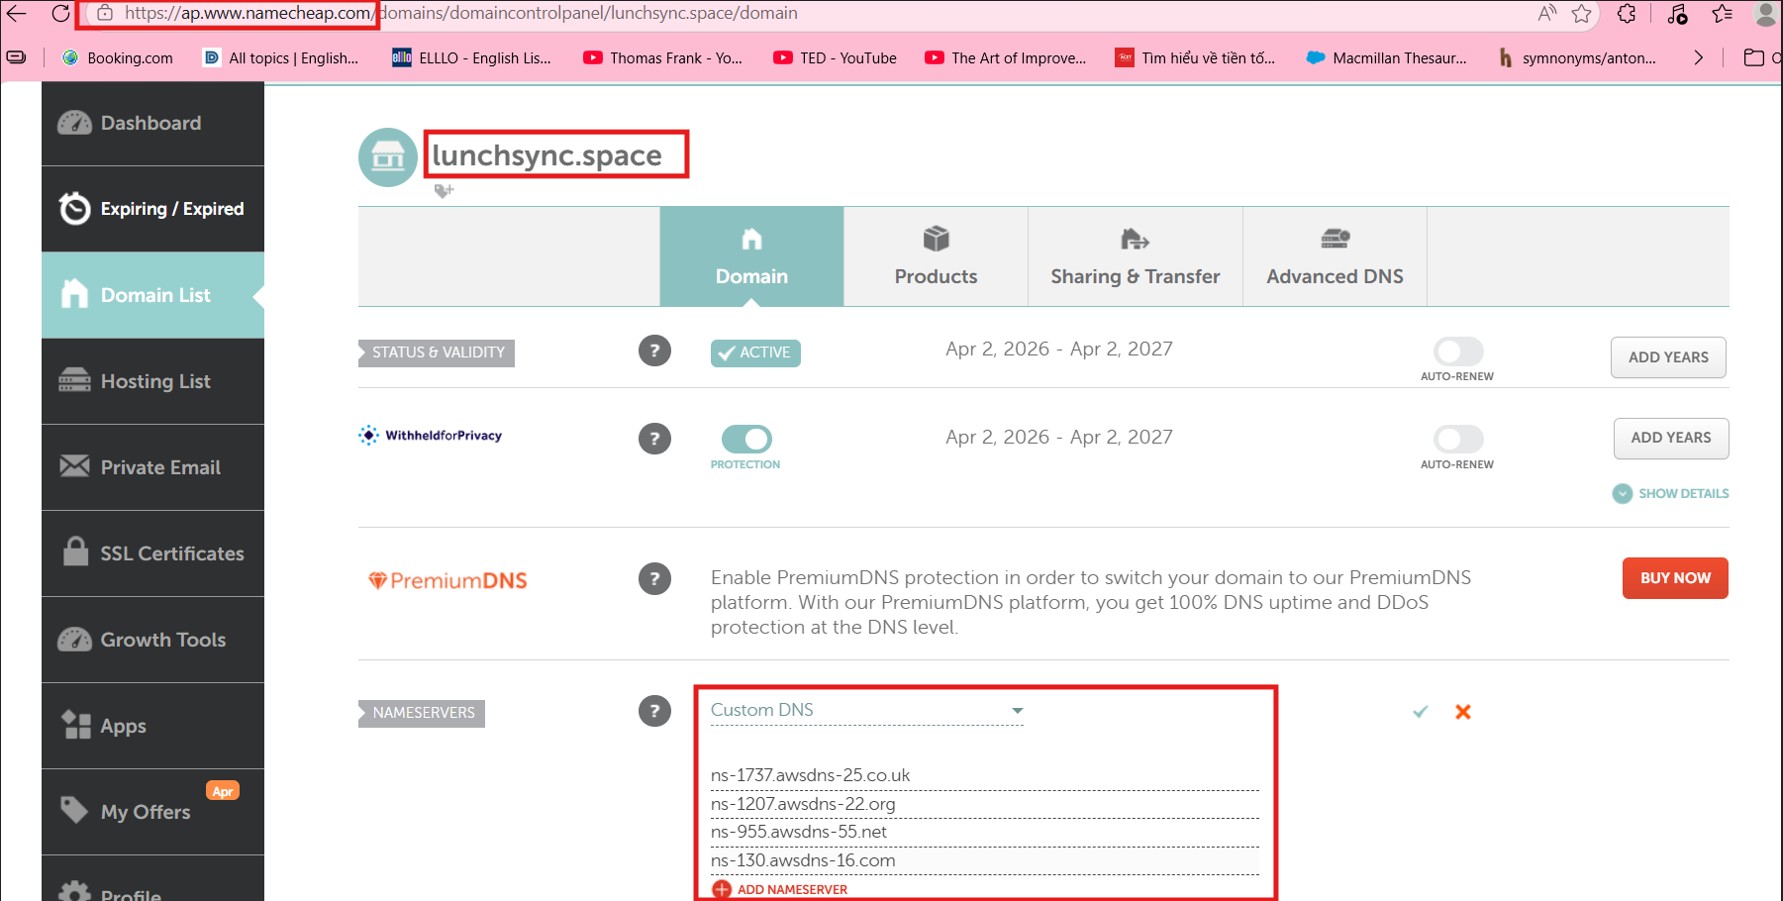
- Copy the 4 nameservers from the NS record and update them at your domain registrar so Route 53 becomes the DNS authority for
lunchsync.space.
- Move to AWS Certificate Manager (ACM) in the region used by the backend and start a public certificate request.
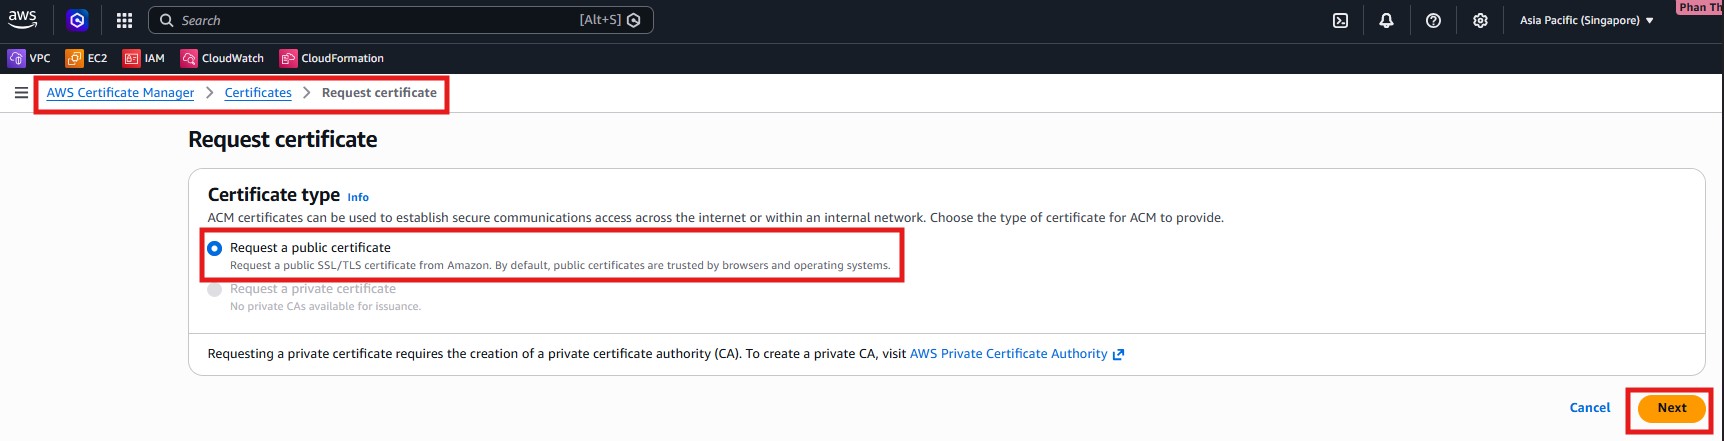
- Choose Request a public certificate, enter
lunchsync.spaceand*.lunchsync.space, and use DNS validation.
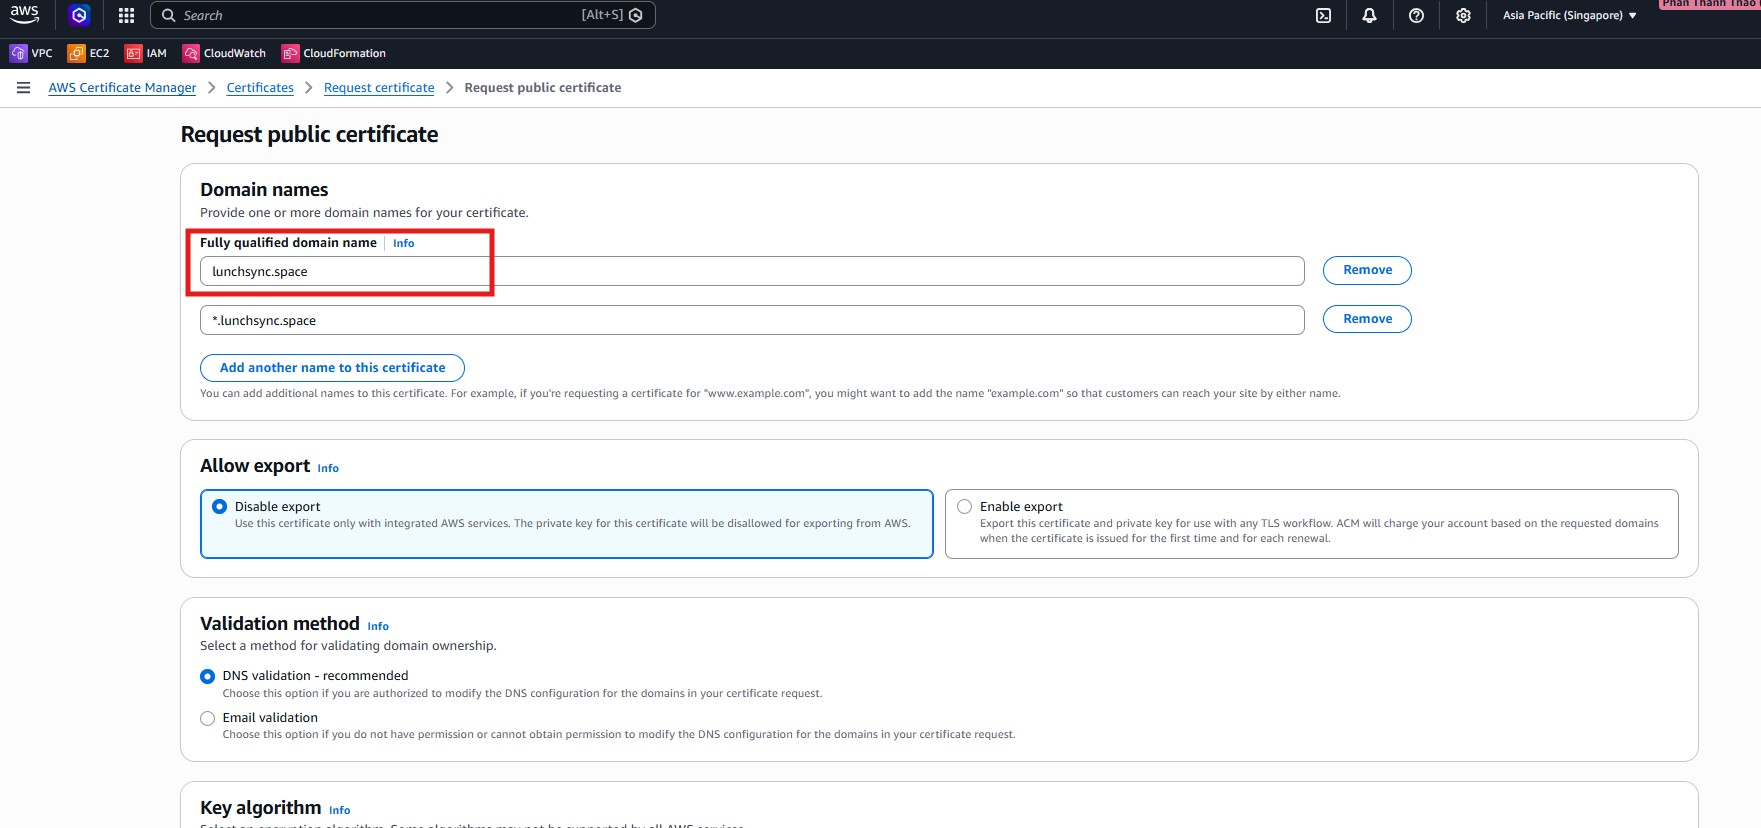
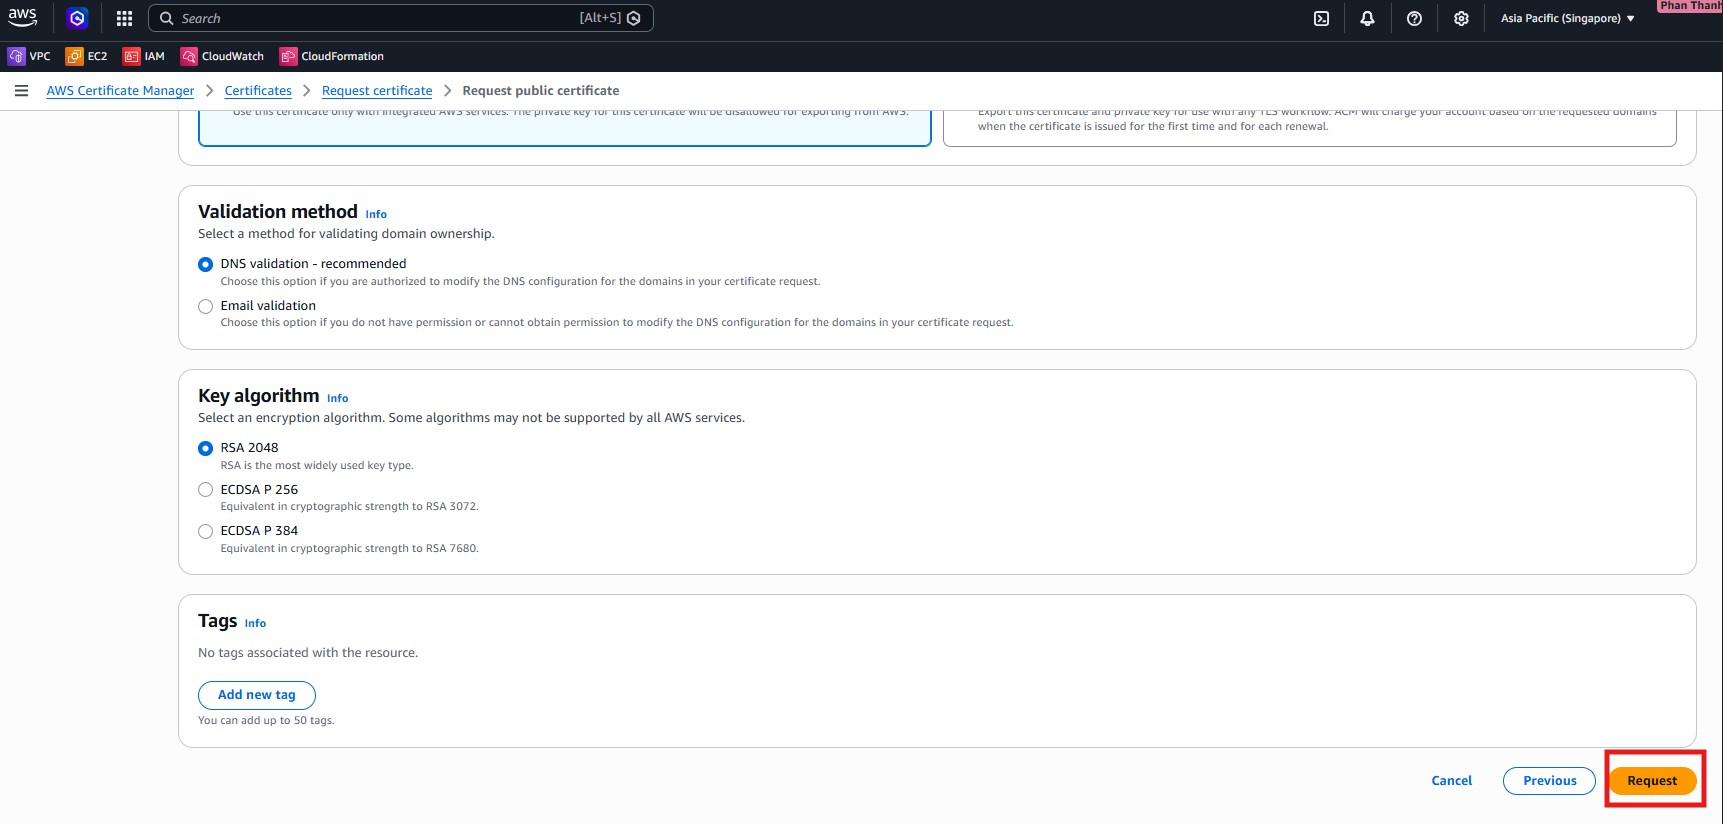
- Keep the default key algorithm such as
RSA 2048, review the request, and submit the certificate request.
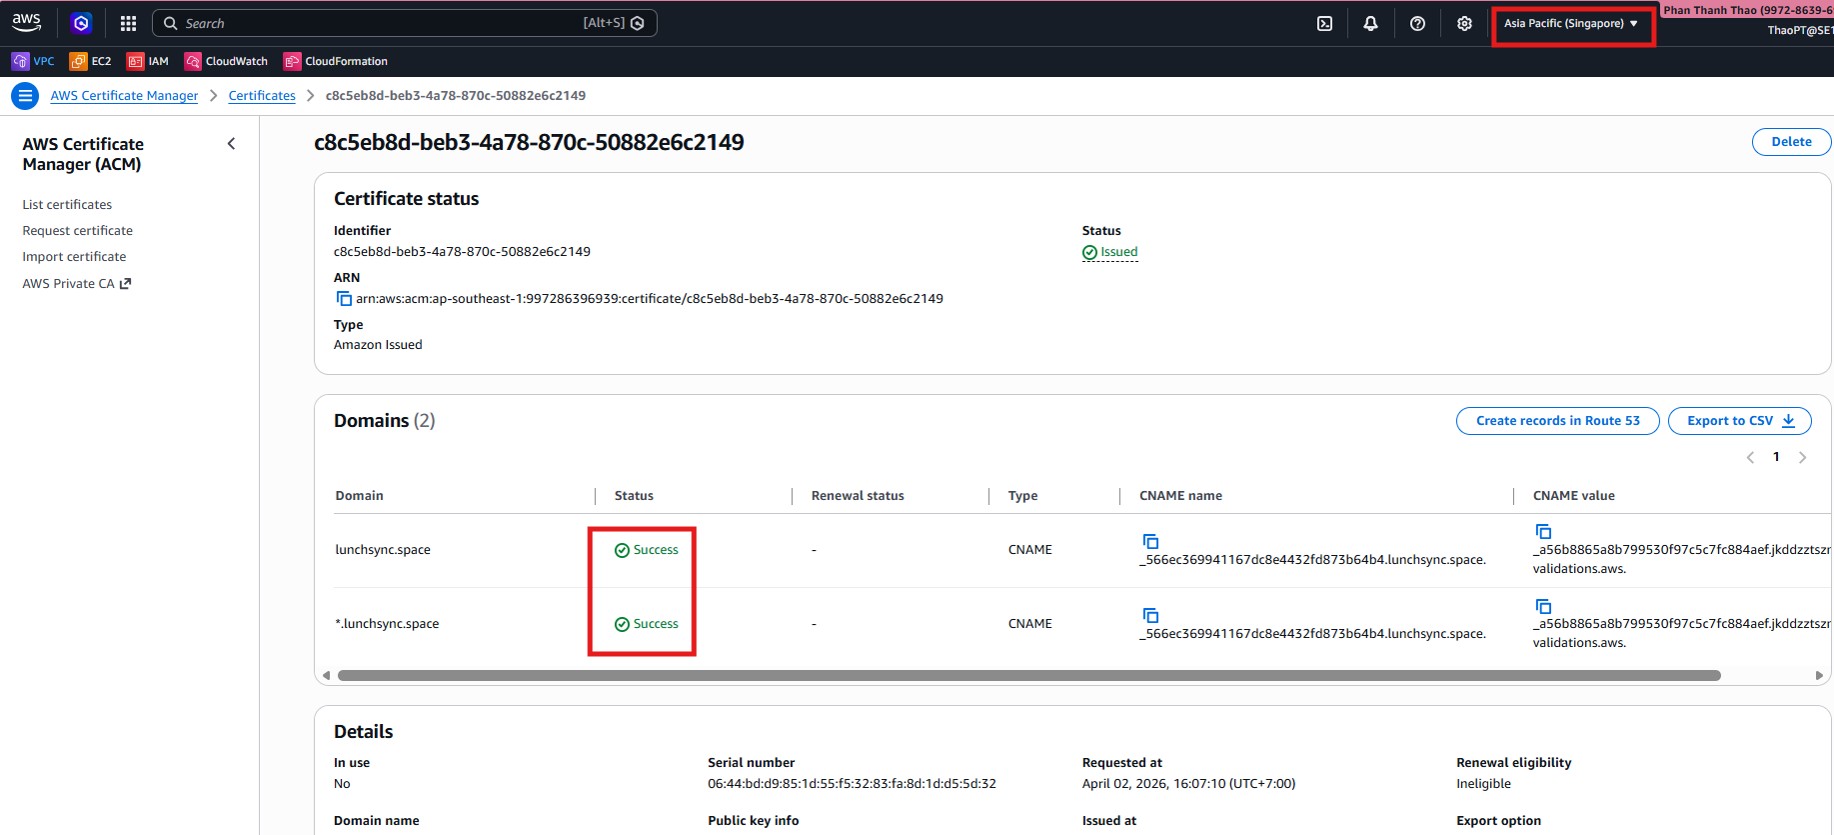
- Open the new certificate details page and inspect the CNAME records used for DNS validation in Route 53.
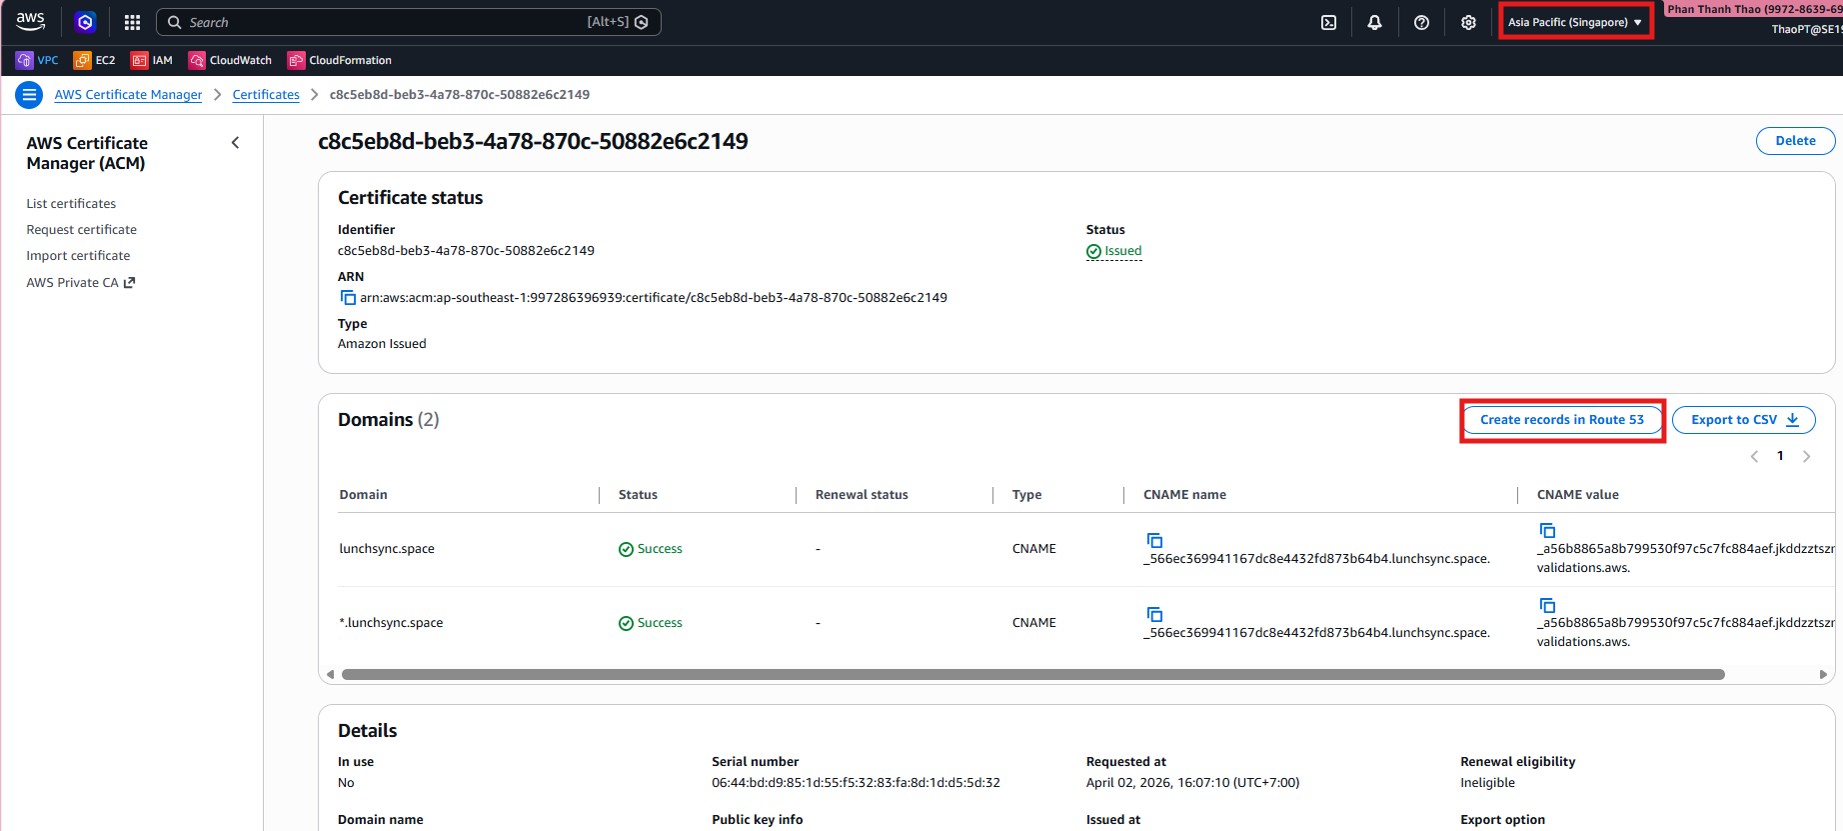
- If ACM shows Create records in Route 53, use it to create the missing validation records directly from ACM.

- Wait until the certificate in the application region changes to Issued, then keep its ARN for the ALB step.
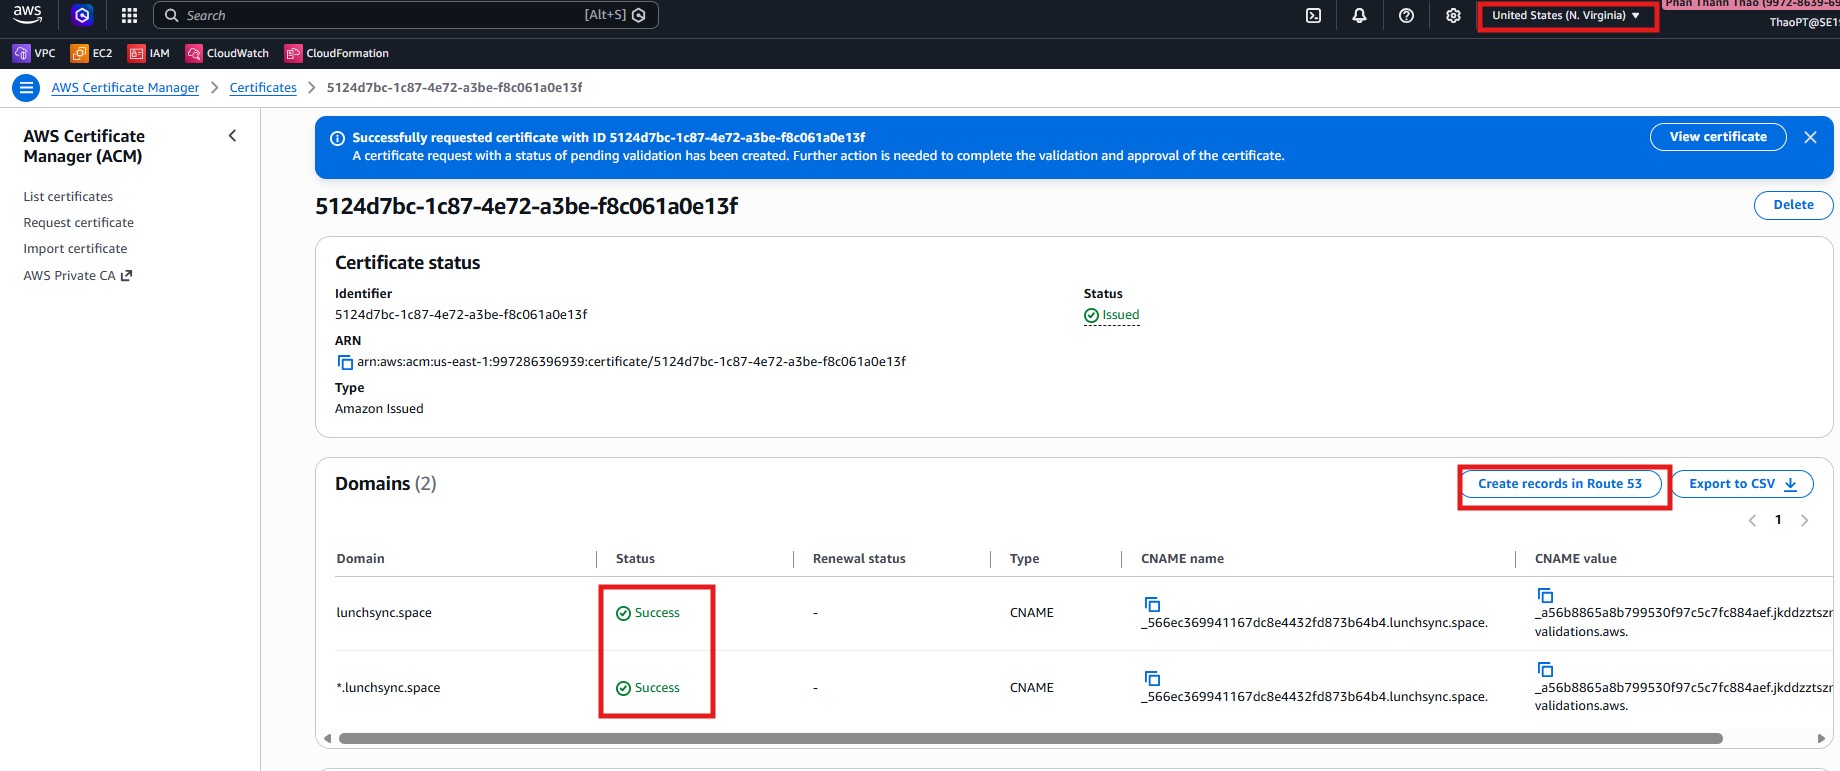
- Repeat the certificate request flow in US East (N. Virginia) so CloudFront has its own certificate, then confirm that this certificate also reaches Issued.
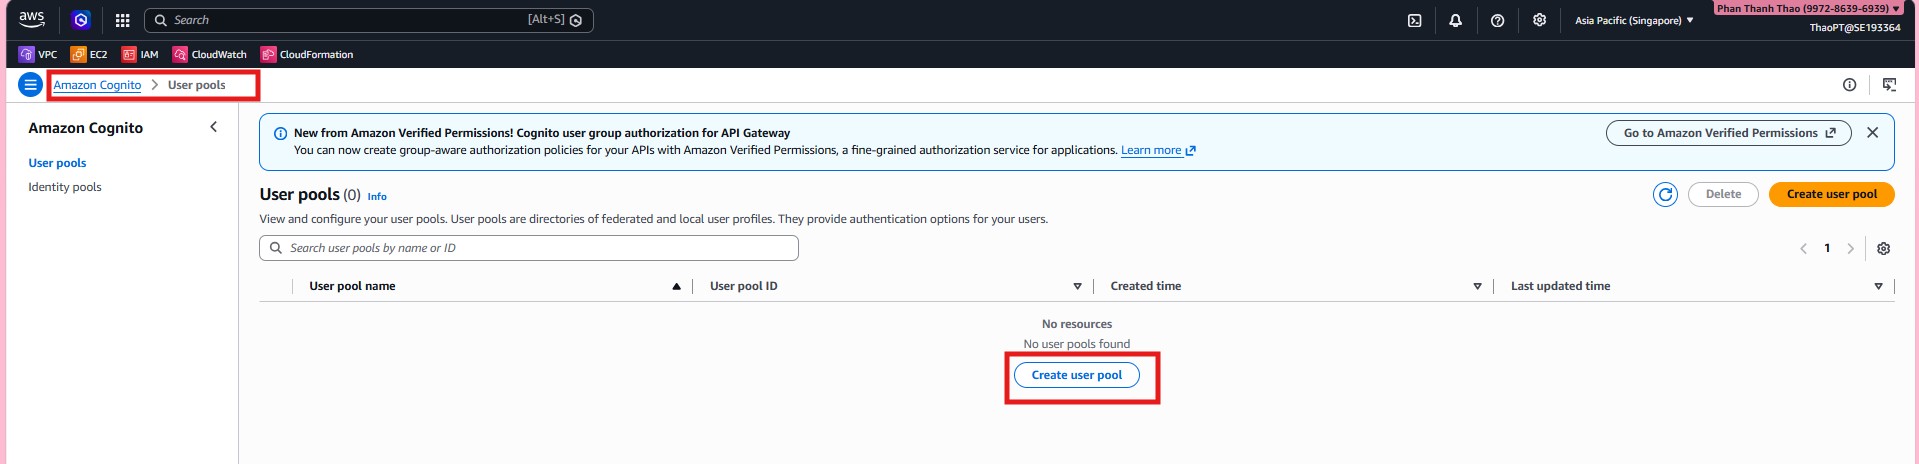
- Open Amazon Cognito and choose Create user pool for LunchSync.
- Choose Traditional web application, name the app
Lunchsync-App, useEmailandUsernamefor sign-in, enable Self-registration, and keep the required sign-up attributes such asemailandname.

- Set the Return URL to
https://lunchsync.space/, then finish the quick setup so Cognito creates both the user pool and app client.

- Reopen the new pool and confirm that
Lunchsync-Appis attached toLunchsync - user pool.
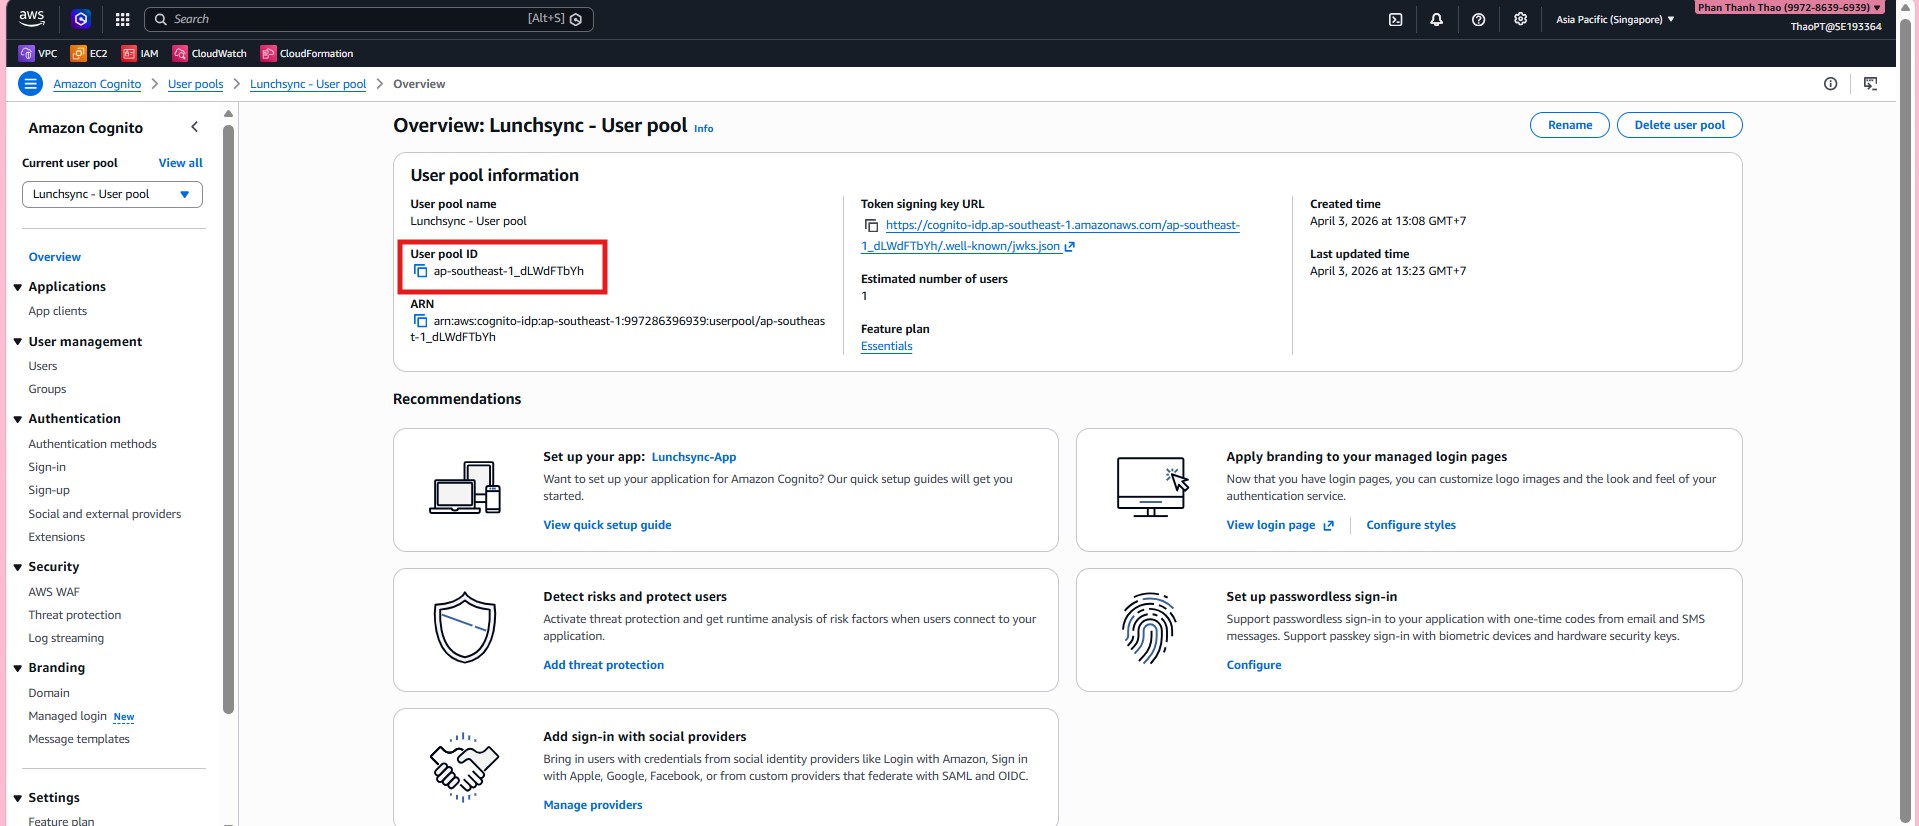
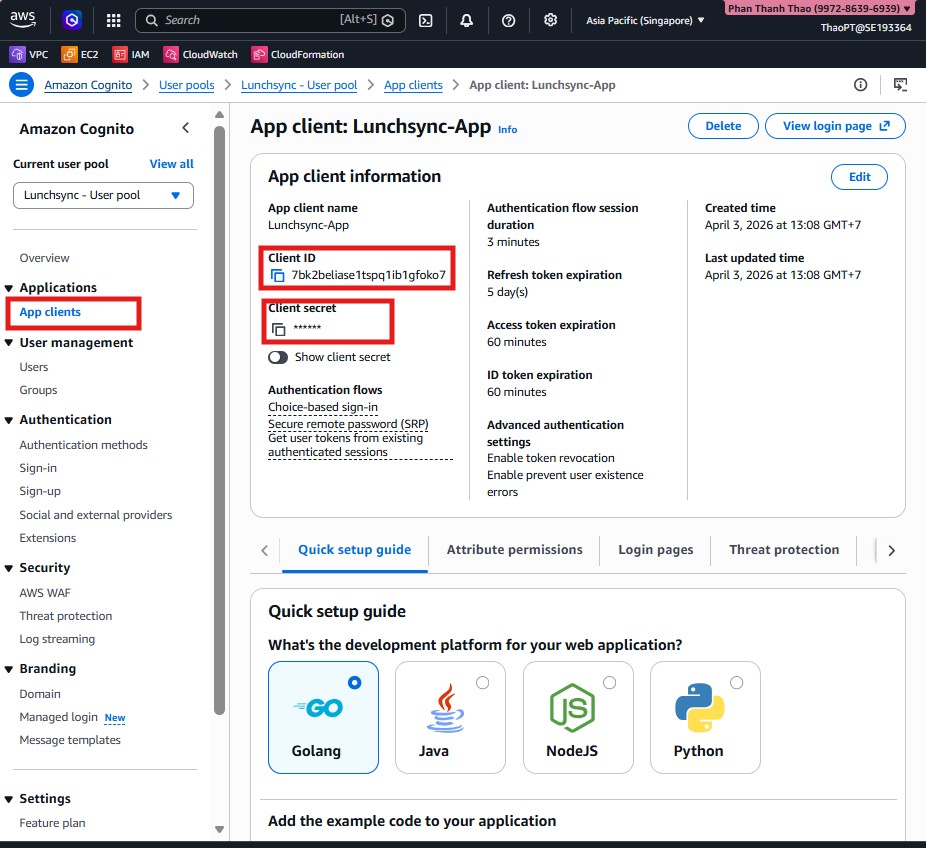
- Open App client to capture the Client ID, inspect the Client secret, and review token settings.
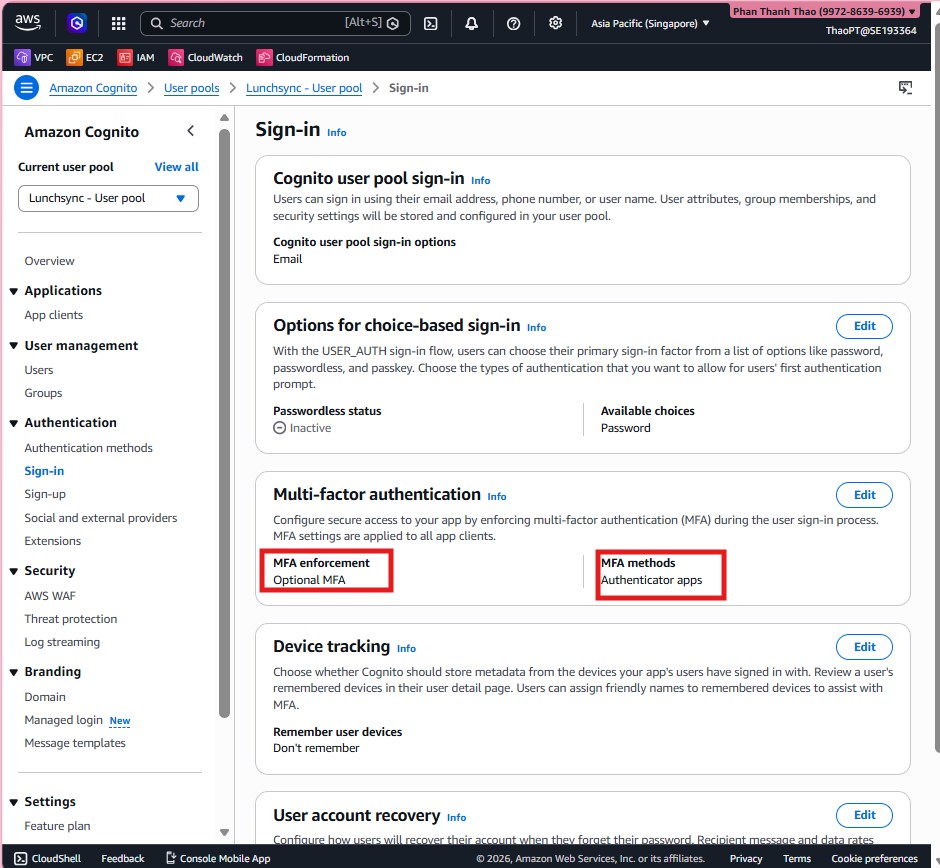
- Open the Sign-in tab of the user pool and review sign-in options, MFA, and device-tracking settings.
- Edit App client information if needed and make sure the client allows the required flows such as
ALLOW_USER_AUTHandALLOW_REFRESH_TOKEN_AUTH.

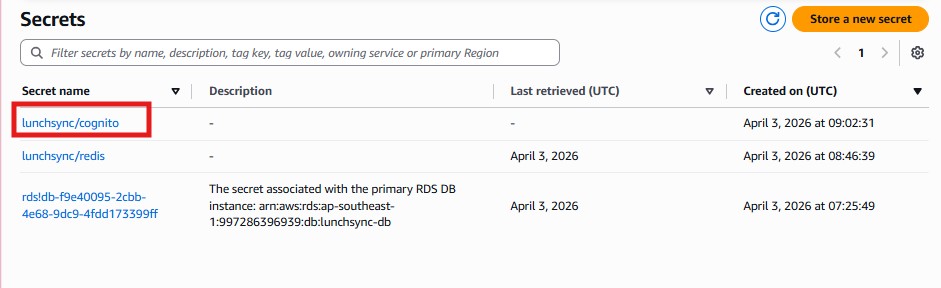
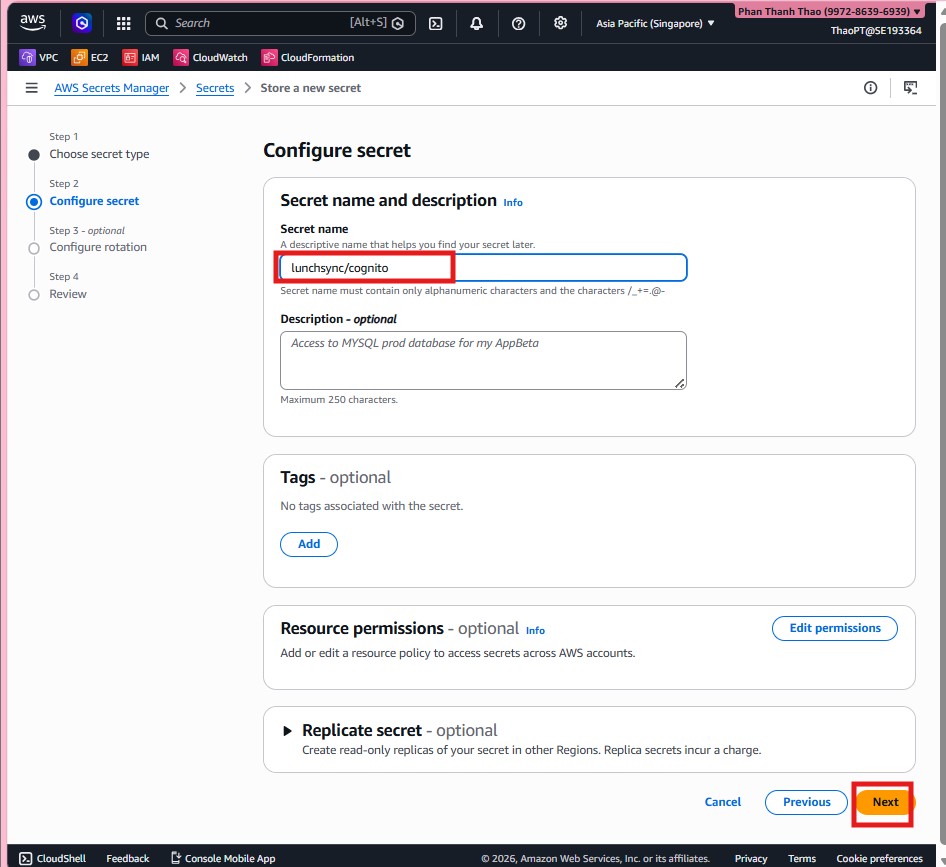
- Move to AWS Secrets Manager, choose Other type of secret, and store Cognito values such as
cognito_client_id,cognito_user_pool_id, andcognito_client_secret.
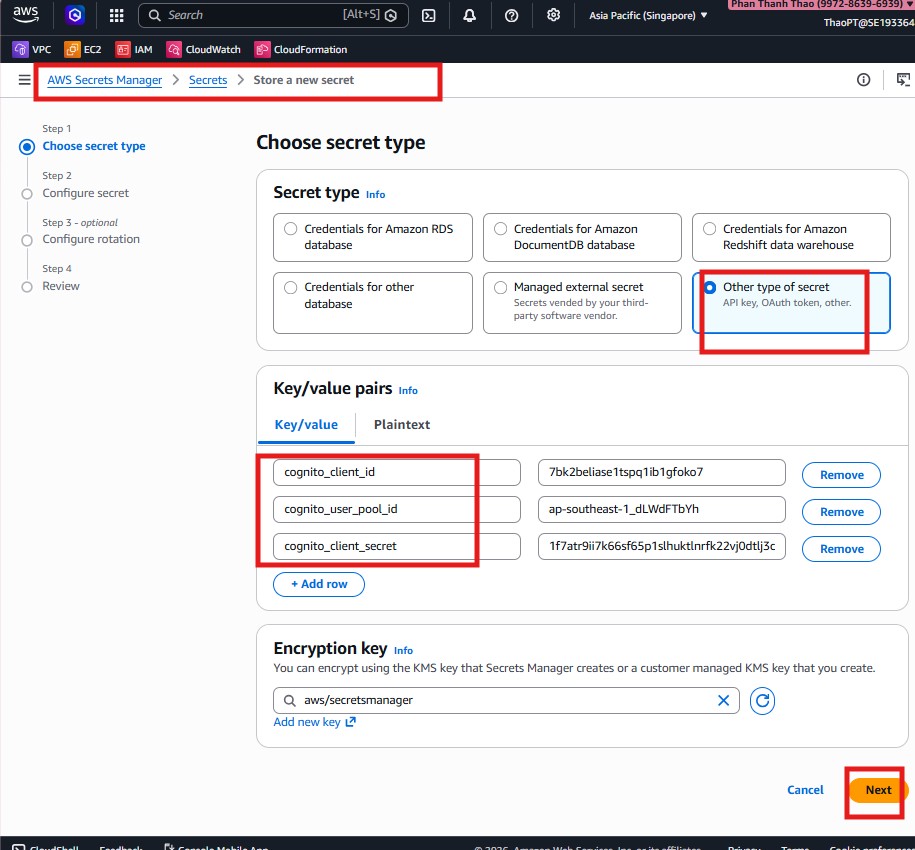
- Name the secret
lunchsync/cognitoso the backend can reference it consistently at runtime.
- Finish creating the secret and confirm that
lunchsync/cognitoappears in the Secrets Manager list together with the other application secrets.